Tomato Sandwich Recipe

I am feeling a little nostalgic this week. Monday my Grandmother would have celebrated her 94th birthday. It is hard to believe she has been gone for almost seven years. I have been missing her lately. 

When my sister and I were lucky enough to go stay with my grandparents during the summer we would have so much fun. Normally, we would only make the trip from Florida to Tennessee for Thanksgiving, so being able to go during the summer was a treat. We would pick blackberries, help Granddaddy with his garden and help Grandmother with canning and preserving.

I don’t know what they do to the soil in Tennessee but I tell you it is magical. I remember seeing a hot house cucumber at the grocery store in my twenties and I thought, my Granddaddy grew these in his garden when I was a kid, way before they were cool and they were delicious! And can we talk about the tomatoes? I mean talk.about.the.tomatoes. I have never tasted a tomato that is as good as one from Tennessee. #Truth.

I learned to love tomatoes those summers spent at my grandparents’ house. That love is still with me. The tomatoes here in Florida don’t really hold a candle to the ones we had those summers with Grandmother and Granddaddy, but around this time of year they are just about as good as they are going to get and I will eat my weight in tomato sandwiches and swim in memories of our summers in Tennessee.

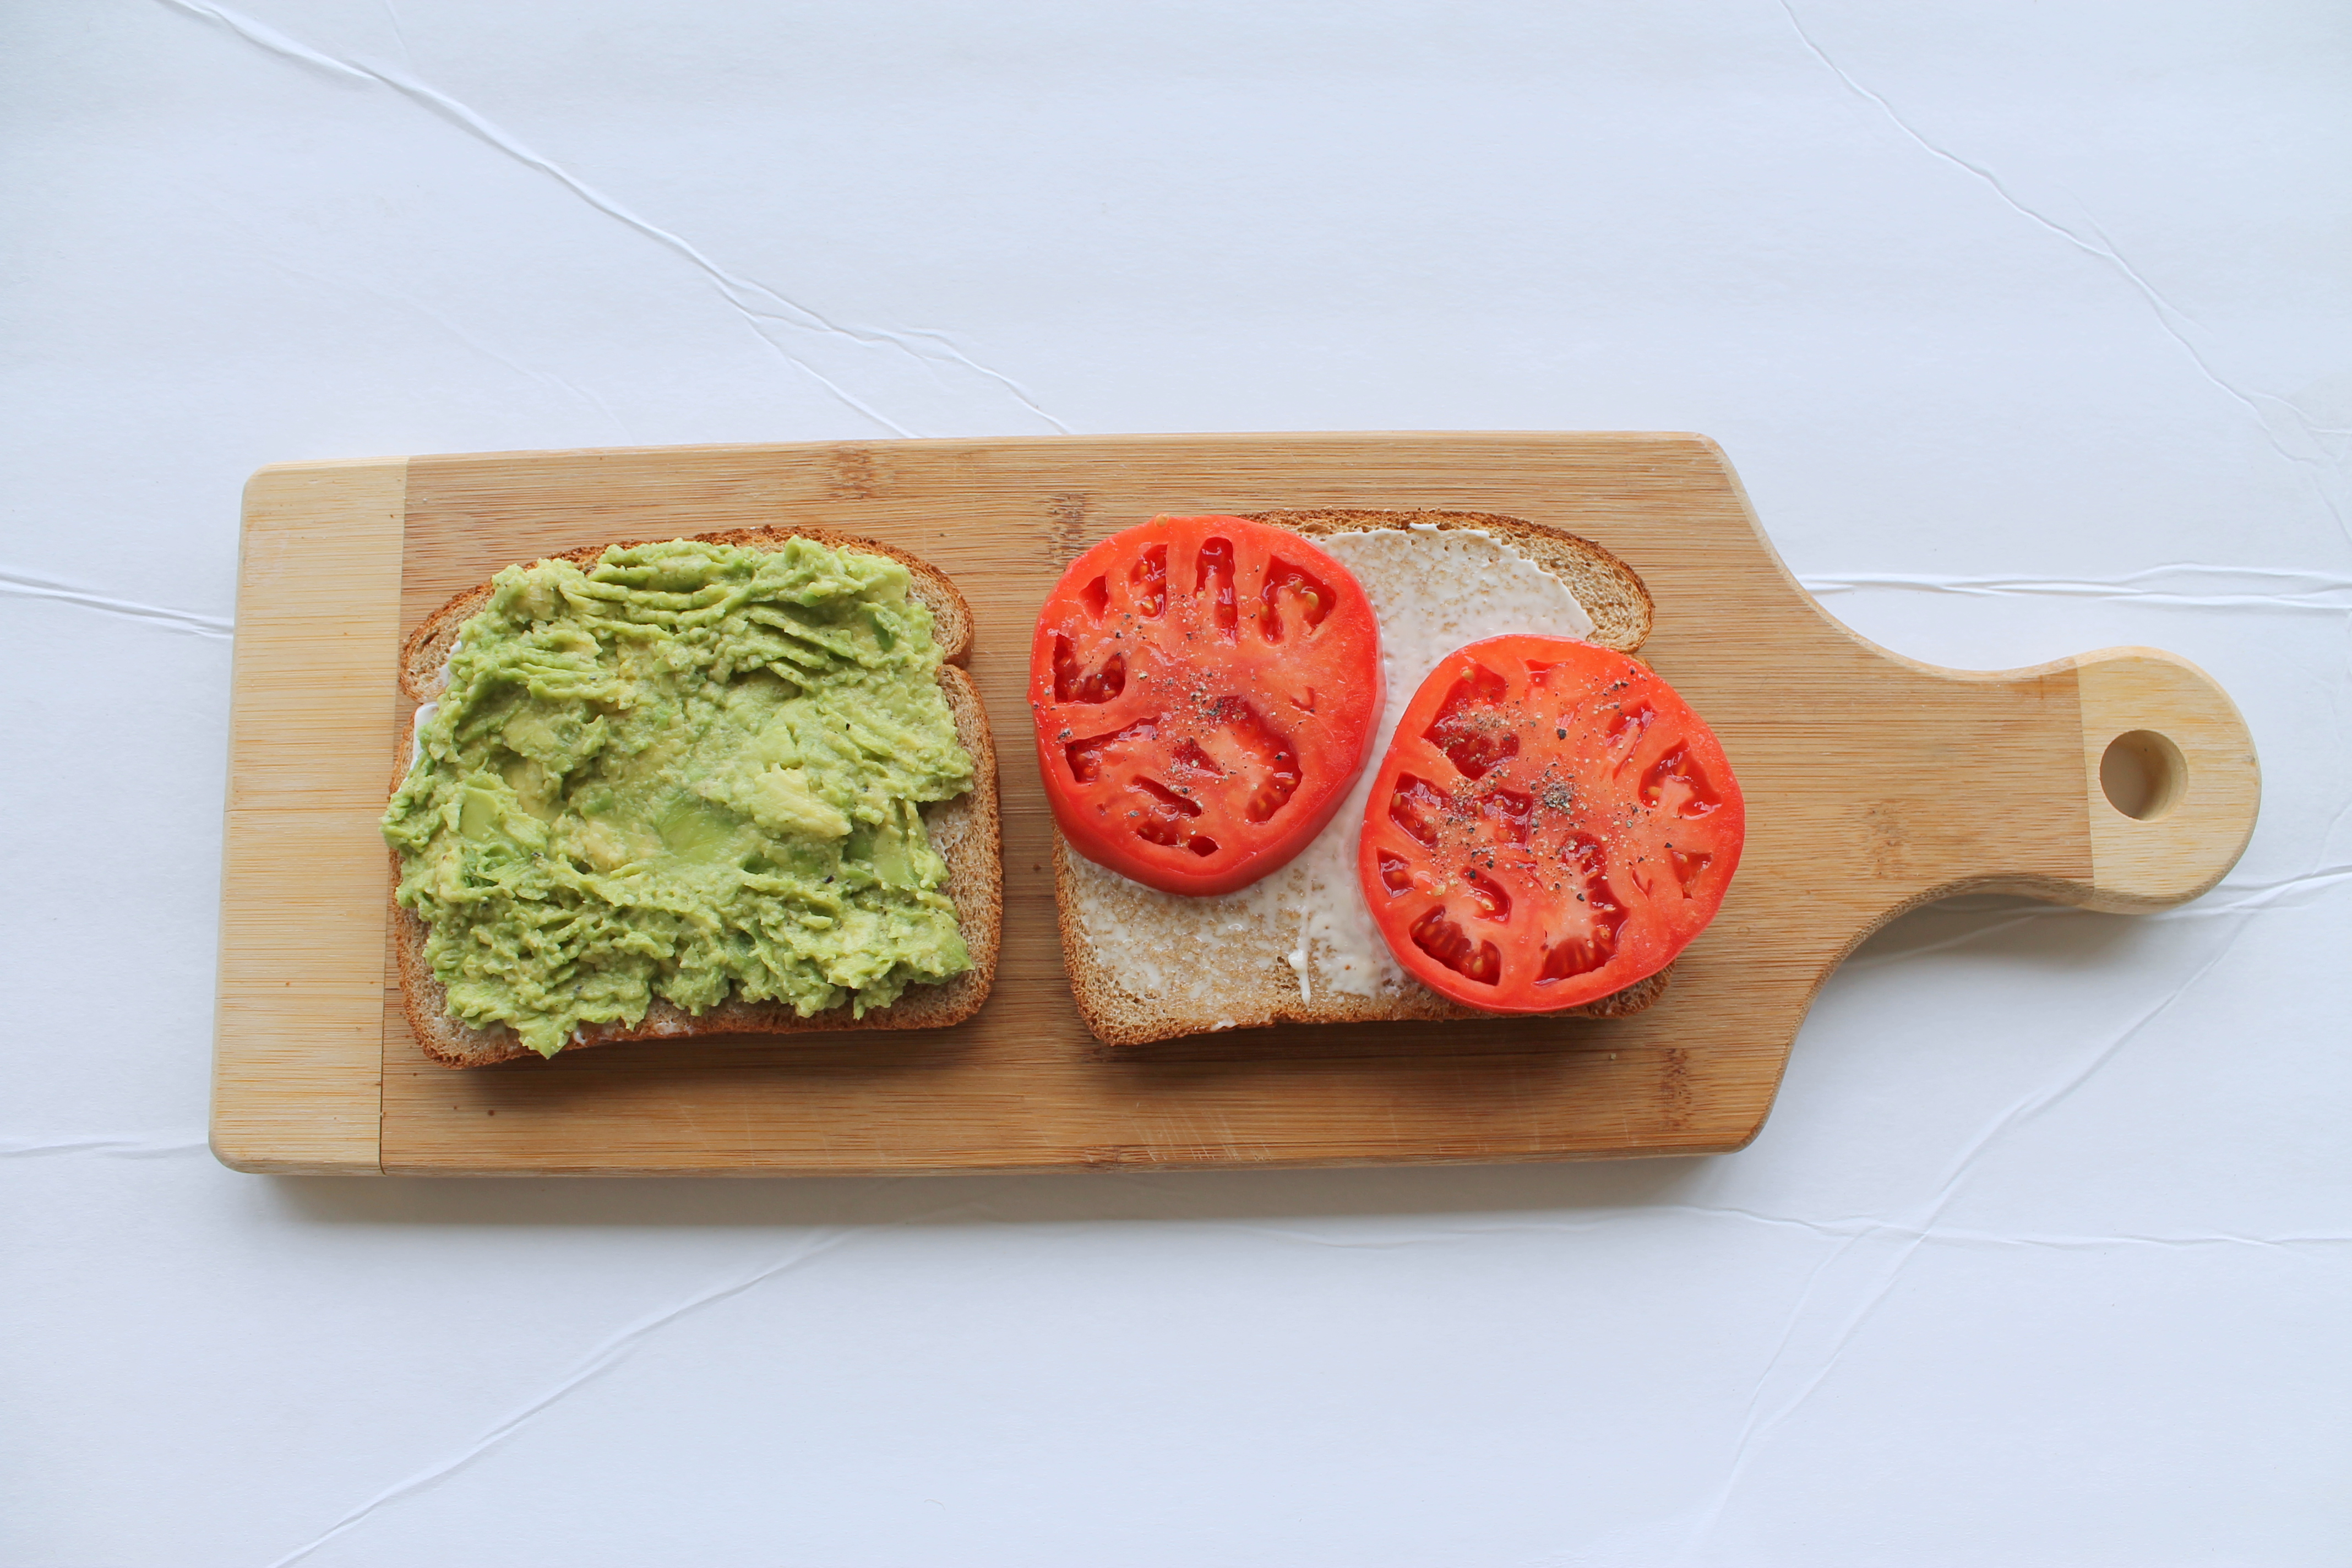
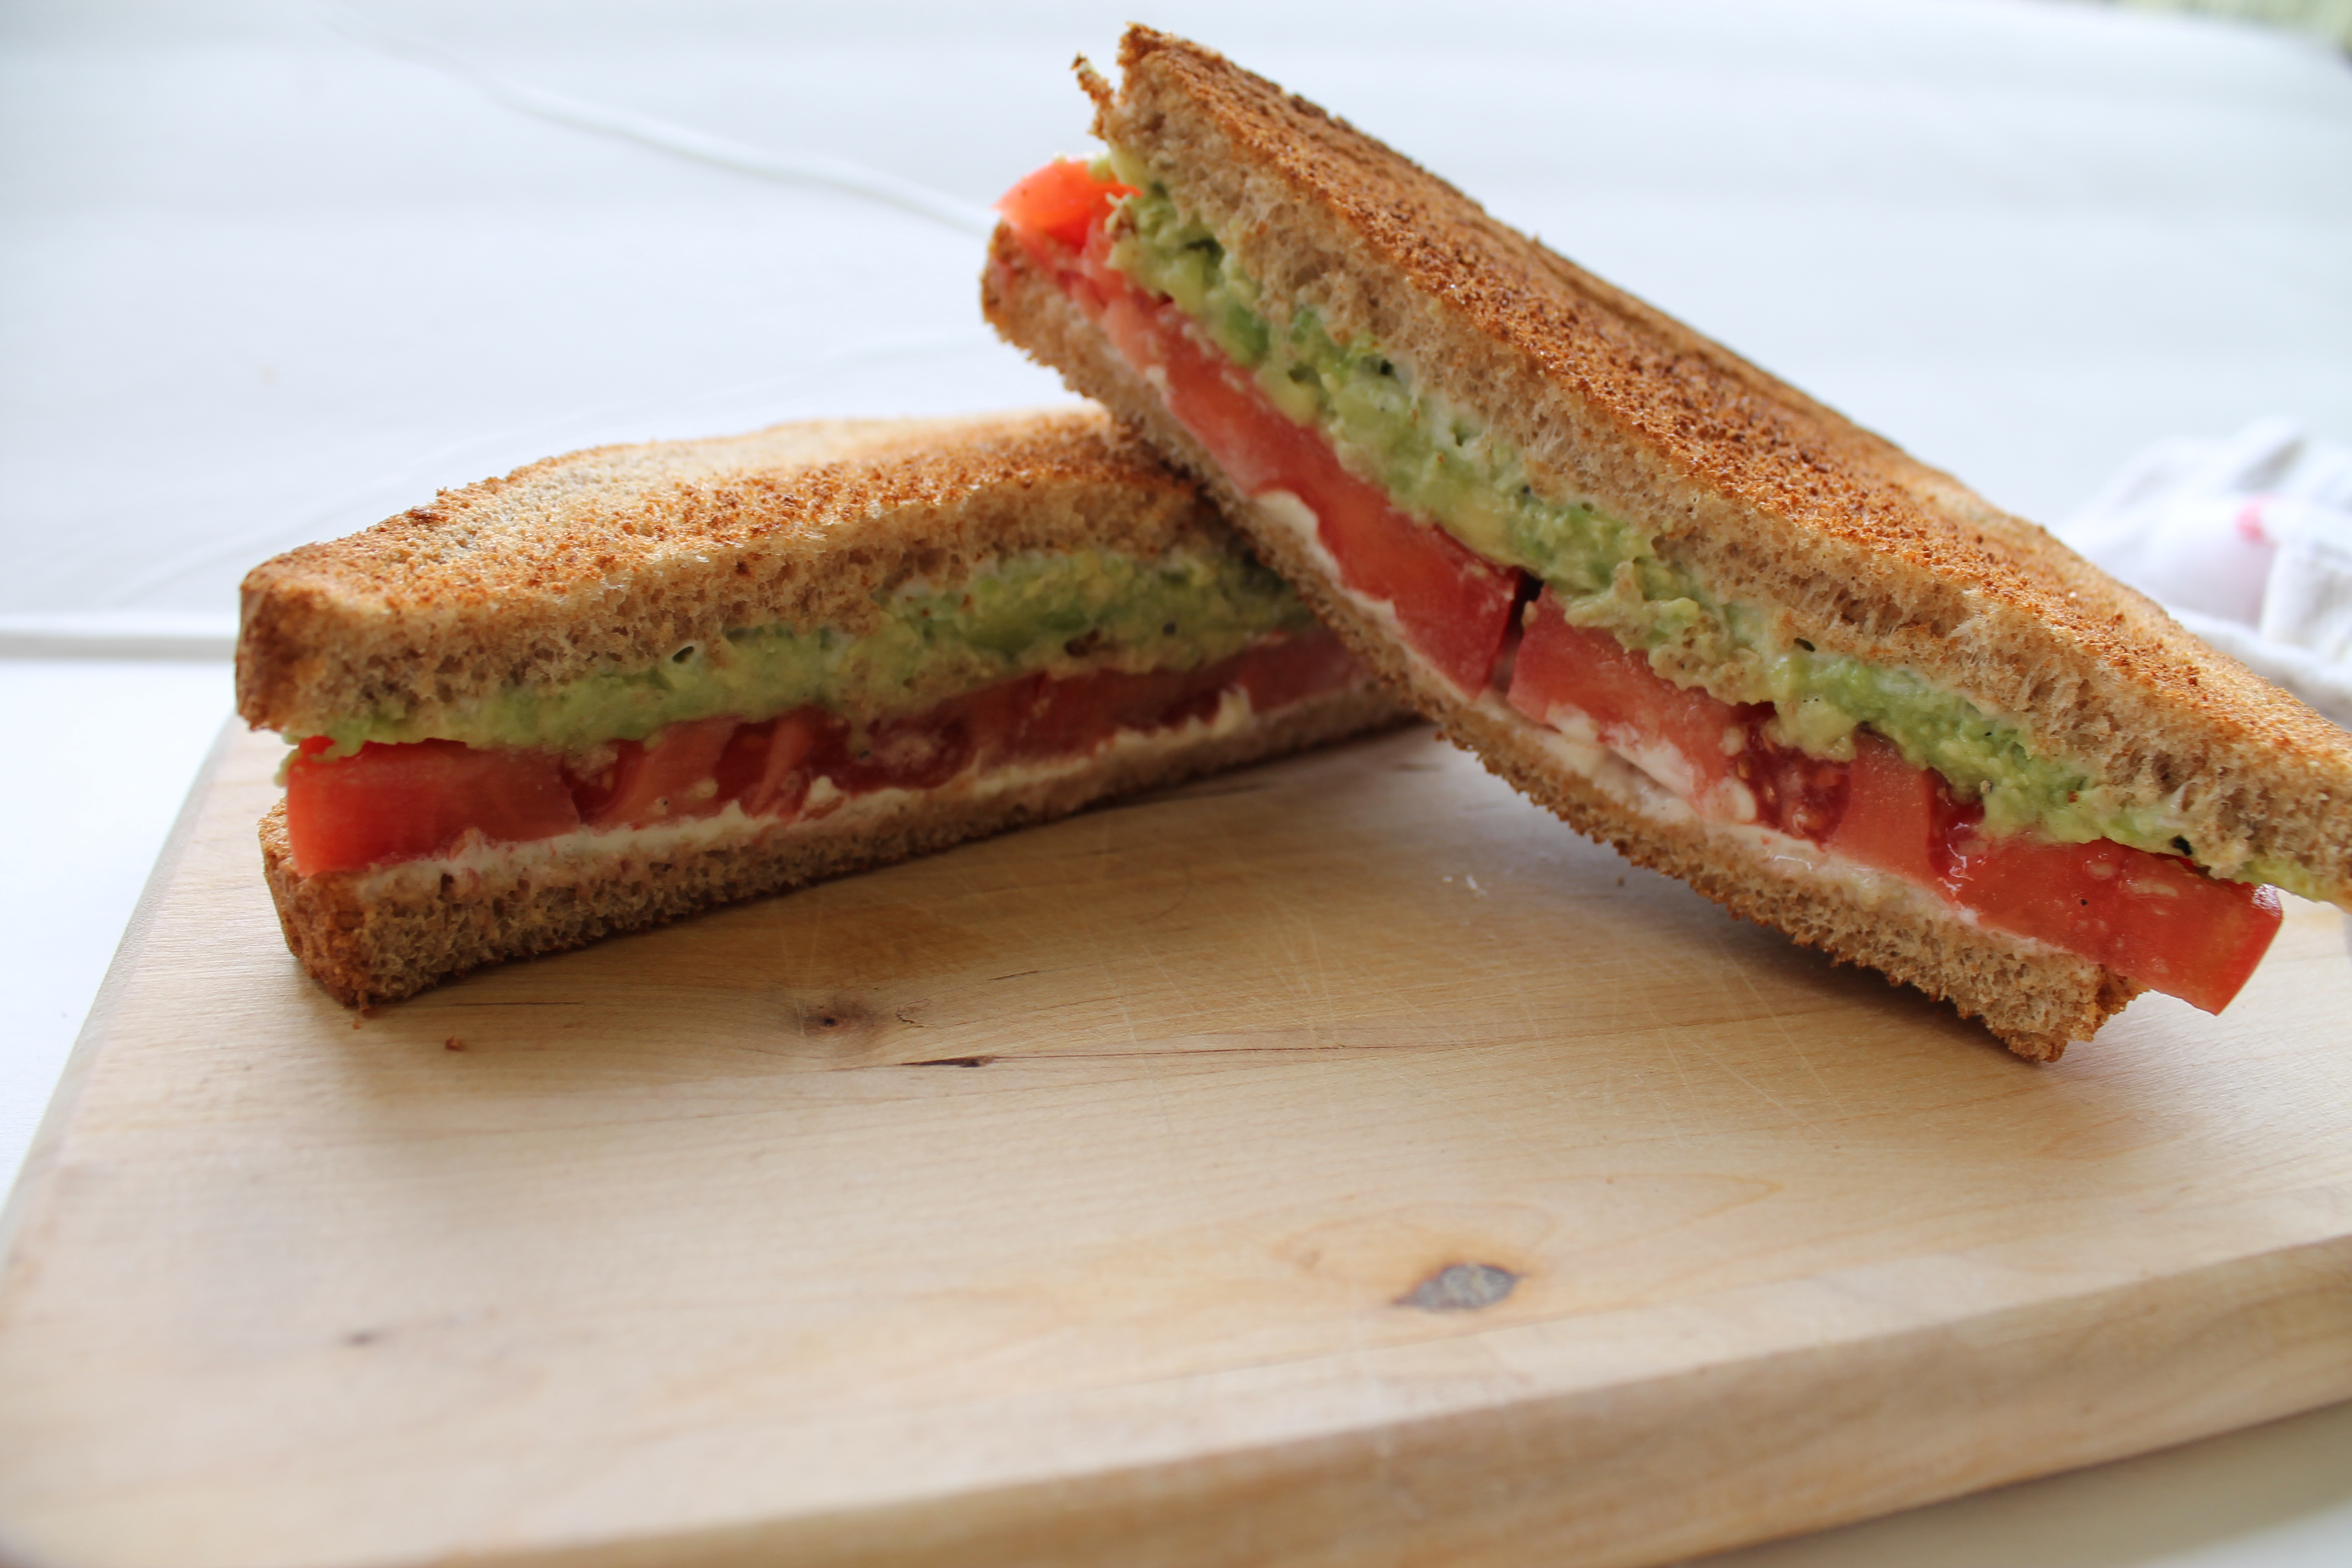
That was my long-winded way of saying that these sandwiches are memory machines. For these, I was feeling wild and added some avocado but I will always have a special place in my heart (and stomach) for the original: a juicy tomato on toasted bread, with salt, pepper and mayo. That was it. Simple and so delicious.

So if you are in Tennessee, enjoy your magic soil and amazing tomatoes. Feel free to send me some if you think of it. I will just be here making these wishing I was eight again.

Happy Birthday Grandmother.
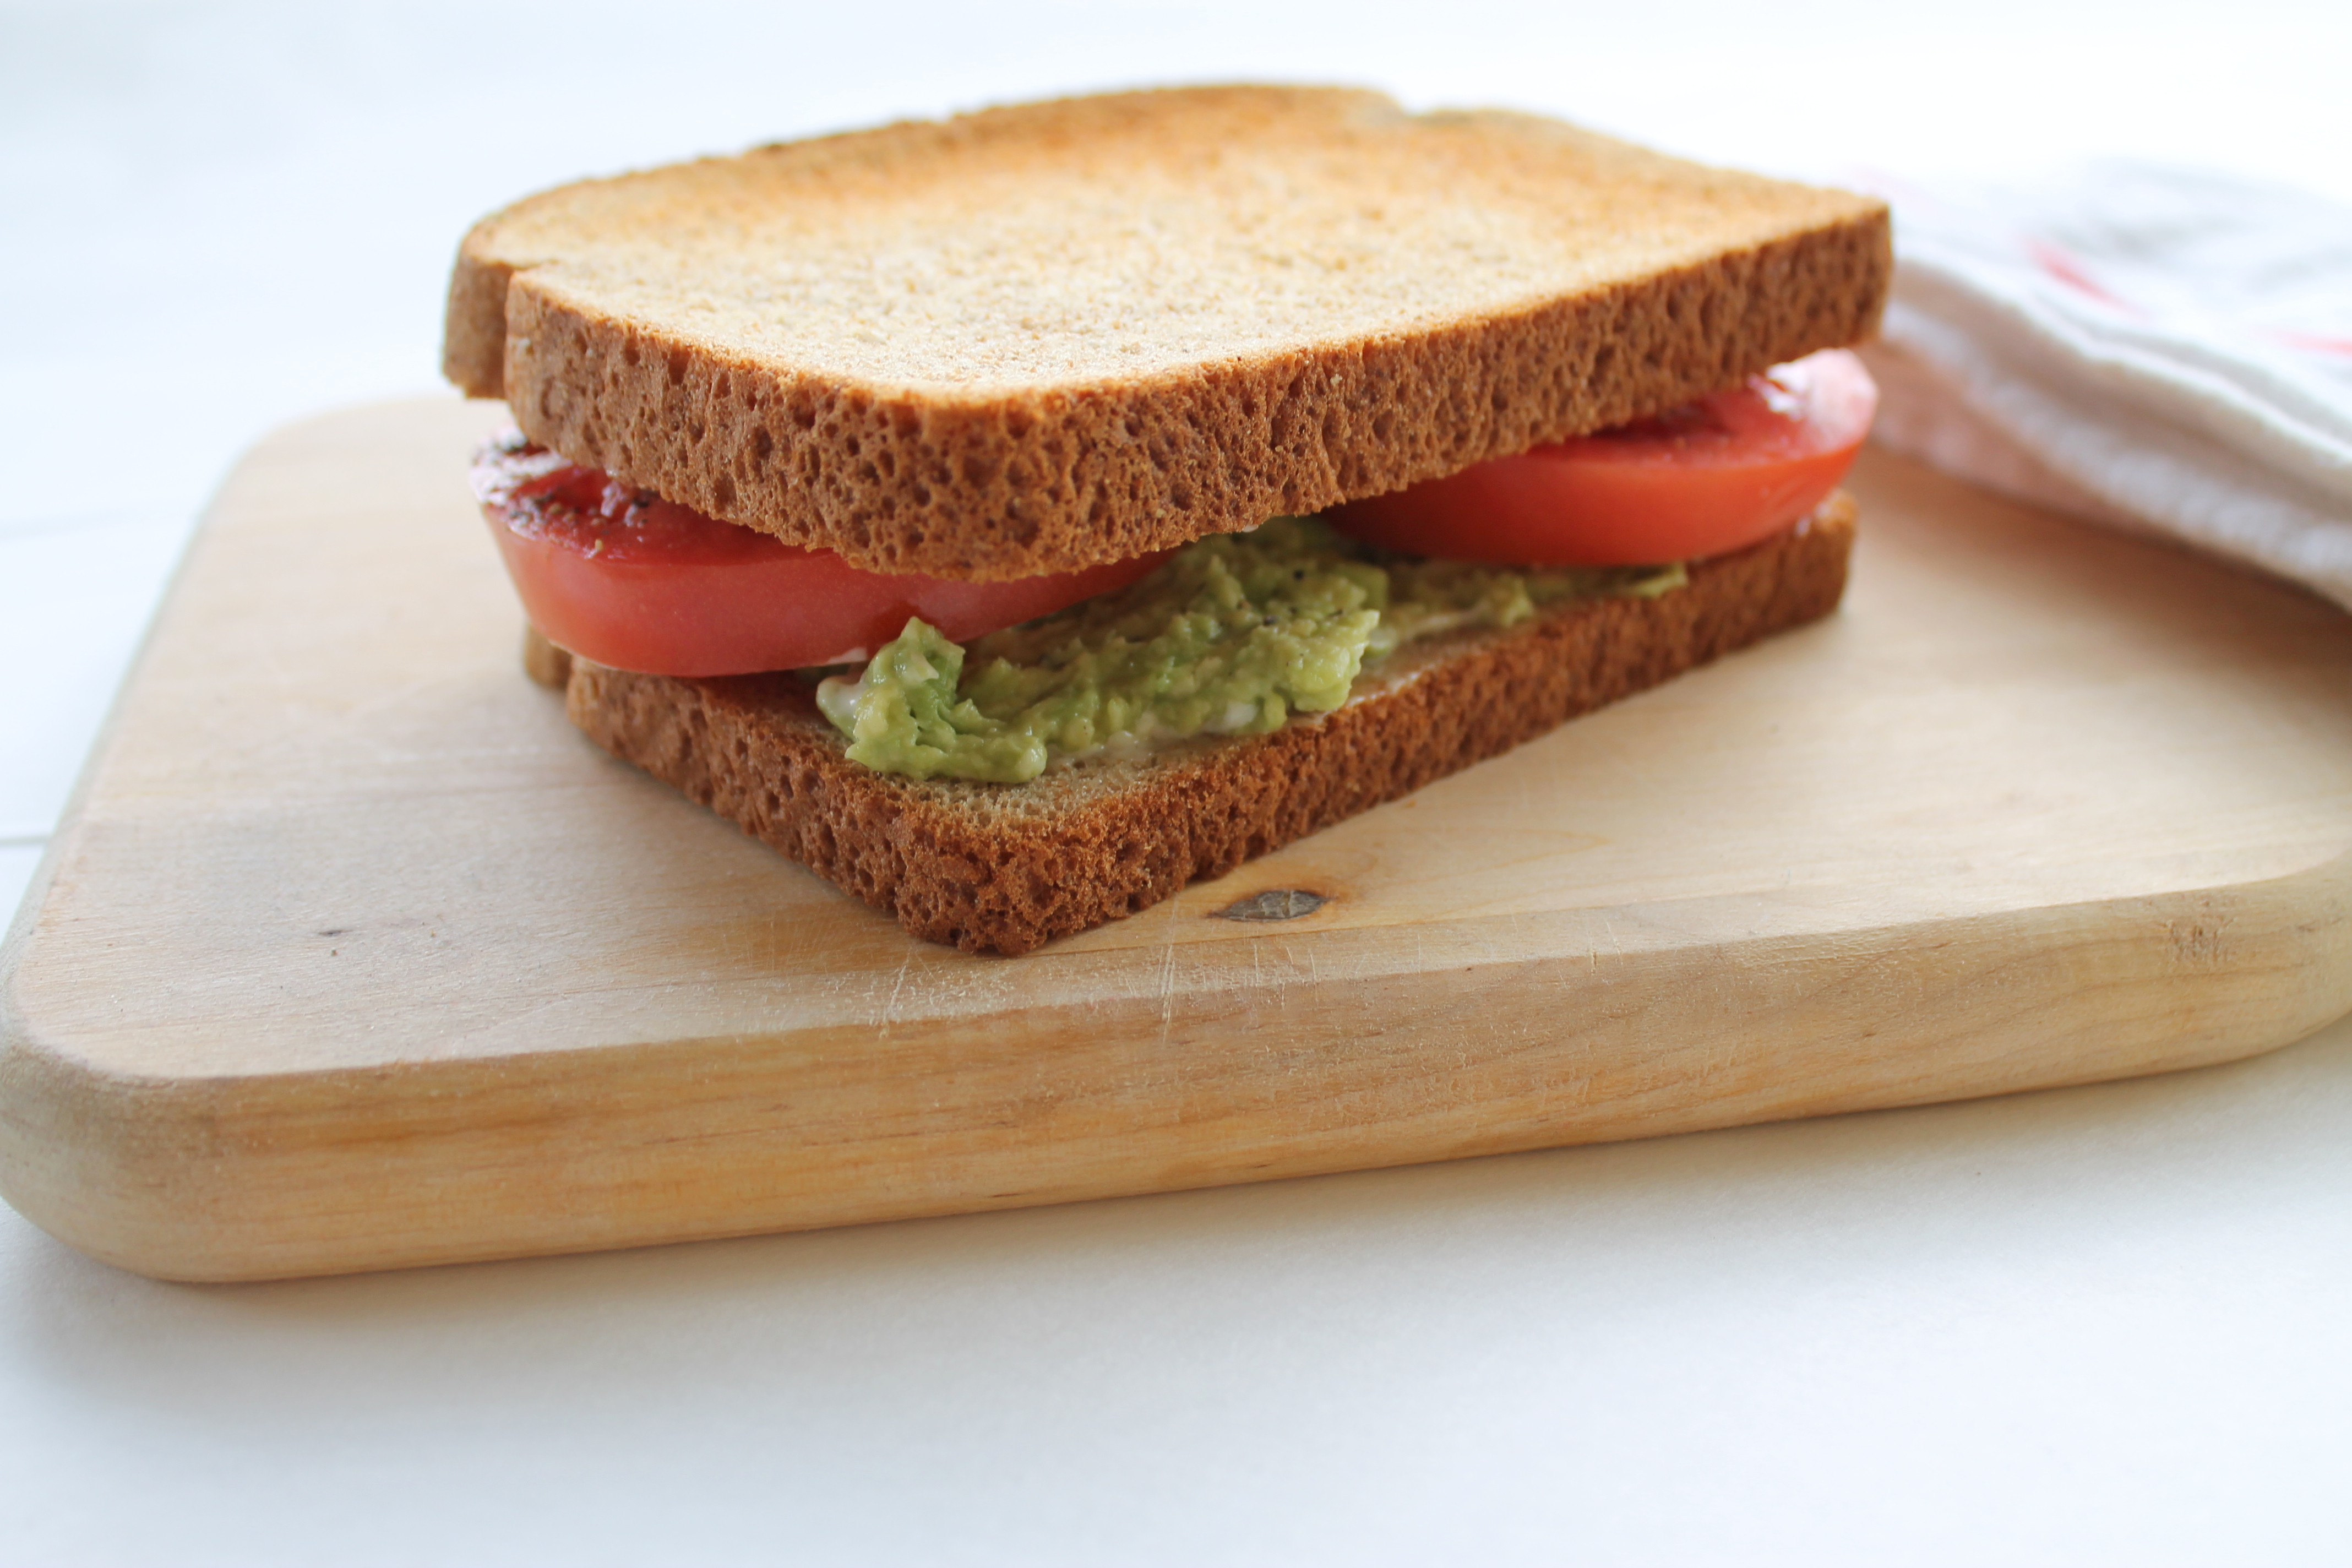
IMG_3921

 IMG_3919

IMG_3928

IMG_3931

Princess approved!


Tomato Sandwiches
Serves 2
Summer tomatoes are the best.
Write a review
Print
Ingredients
  1. 2 large tomatoes, sliced
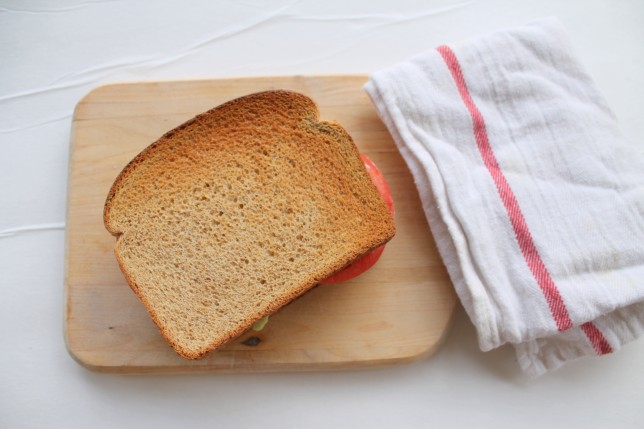
  2. 4 slices whole wheat bread, toasted
  3. 2 tablespoons mayonnaise
  4. 1 avocado, mashed
  5. Salt and pepper to taste
Instructions
  1. Toast the bread slices
  2. Split the mayonnaise between the slices (1 tablespoon per sandwich)
  3. Spread each slice with the mashed avocado
  4. Top with the sliced tomatoes, salt and pepper
Steph in Symmetry https://stephinsymmetry.com/
 xo

Oatmeal Cookie Recipe

We like cookies a lot in our little world. My kids tend to like sugar cookies. Sprinkles for the Princess, and plain for Little Man. I seem to veer towards cookies that have that salty/sweet thing going. My favorite chocolate chip cookies are saltier than sweet and always have semi-sweet or bittersweet chocolate rather than milk. I also like cookies with “stuff” in them. I made this cookie once and I seriously thought I would die. So good.

I came across my Grandmother’s Oatmeal Cookie recipe and  it has just the right amount of “stuff” in it.  Her recipe calls for oats, and chopped nuts (there is actually a note on the top of her recipe card that says “good with nuts & raisins”).  Where I would normally empty out the pantry/fridge to find things to put in cookies, when it comes to oatmeal cookies, I really only like oats. I know lots of people like raisins as well, but in our family we never really put them in. I really like the flavor of a buttery, sugary oatmeal cookie without the addition of nuts and/or raisins.

I actually found two recipes in her collection for Oatmeal Cookies. One called for butter and shortening and the other just shortening. I decided to use the one without butter as I like to think it is meant for my cousin Jessica who can’t have butter. Plus, I just like to think of Jessica because she is far away and I miss her and she is one of three people that read this. So this is for you. Tee hee.

Here is Grandmother’s recipe card.

IMG_0563


Here is what I changed:

I used 3/4 cup of Coconut Oil instead of shortening, I also used 3/4 cup of maple syrup in place of the white sugar. Lastly, I substituted whole wheat flour for all purpose. Her recipe also called for Quick Oats and I used Old Fashioned.

I creamed the coconut oil and eggs then added the syrup as a liquid ingredient before the dry mix.

IMG_0570

IMG_0572

Then I added the oats and mixed by hand.

IMG_0576

IMG_0581

I used a parchment-lined baking sheet and my handy ice cream scooper to portion. It yielded just shy of 3 dozen (33 to be exact)

IMG_0584

The verdict:

I really like the cookies. I think the substitutions work well for what I was trying to accomplish. A healthier version of the real thing. They aren’t as buttery as I REALLY like, but I am happy with the healthified version and maybe next time I will add something like applesauce for added moisture.

Here is my recipe. Hope you enjoy.


Oatmeal Cookies
Yields 33
A healthy variation on the basic oatmeal cookie
Write a review
Print
Ingredients
  1. 3/4 cup coconut oil
  2. 3/4 cup maple syrup
  3. 1 cup dark brown sugar
  4. 1 tsp vanilla
  5. 1 tsp baking soda
  6. 11/2 cups whole wheat flour
  7. 1 tsp salt
  8. 2 eggs
  9. 3 1/2 cups old fashioned oats
Instructions
  1. Pre-heat oven to 350 degrees.
  2. In a stand-up mixer with paddle attachment, cream the coconut oil and brown sugar. Once combined, add eggs one at a time. Then add maple syrup and vanilla.
  3. In a separate bowl mix the flour, salt and baking soda. Add to the wet mixture in batches.
  4. Stir in oats by hand.
  5. Using a ice cream scoop, drop dough on parchment-lined baking sheet.
  6. Bake for 10-12 minutes.
Notes
  1. I recommend flattening the cookies with a fork just before baking.The recipe makes just shy of 3 dozen cookies.
Adapted from from Doris "Grandmother" Hand
Steph in Symmetry https://stephinsymmetry.com/
 xo


Pimento Cheese Recipe

For my first recipe in the “Hand Project” I thought I would go with something simple but delicious. The purpose of this project is to take the recipes given to me by my Grandmother (via my Aunt Beverly. Hi Aunt Bev-Love you!) and re-create each one and share them here.

photo

That’s my Grandmother in the middle.

My plan is to stick to the recipe as close as possible, but I may change them here and there to either make them a teenie bit healthier (only if I can keep the integrity of the recipe intact) or make them fit into our lifestyle. I will also make sure to include any changes I mak to the original recipe, via notation. Okay, enough housekeeping back to the cheese baby.

This is one of those recipes that really gets my memories going. My Grandmother used to make the BEST pimento cheese. We would sit at the table and spread it on crackers while sipping glass-bottled Coke (with peanuts of course). There are a few recipes that just scream “Hand Family”. When I think of us, this is definitely one of them. I didn’t actually have the written recipe on this one so I am going by memory.

I have tried tweaks here and there over the years. I will admit that I have used pre-shredded cheese several times. It tastes okay but the consistency just doesn’t work. I think the anti-clumping additive that is in the pre-shredded kind keeps the mayonnaise from sticking the correct way. I also like the way that when you shred your own cheese the actual shred is thinner. So, when you stir it all together some of the pieces break up and mush (technical term) with one another to create a really good spread. As opposed to the pre-shredded kind, where if you like to put the finished product on say Wheat Thins (that is my favorite way to eat it), the shreds of cheese hang off the sides of the cracker and fall off when you take a bite. No bueno. Don’t get me wrong, if I’m short on time (or motivation) I will definitely skip shredding on my own, but it really makes a big difference. Break out the shredder. Do it.

I also tried adding cream cheese once. Meh. It just adds bulk without flavor. It is good if you are looking for more of a spreadable, cheese-ball-type consistency, but I don’t like to take away from the sharp flavor of the cheese and I tend to like mine a little more mayo-y.

The addition that I have made recently that I will definitely be keeping is Wickles Pickles. So here is the thing with these pickles. They are so great. They are similar to a bread and butter pickle but the are spicy! The heat is just enough to add great flavor without being painful. My husband and I are fans of their sandwich relish too, but the pickles are perfect for this and really put it over the top. I used to spread my pimento cheese on a cracker and just put a pickle on top like a little hat and it was great.  But then I got hungry and the hungrier I get the lazier I am. So I decided to cut the Wickles up and incorporate them into the pimento cheese. Mind blown. So good. I’m not sure my Grandmother would like the addition as she wasn’t a real fan of super-spicy. If you aren’t a fan either, I would suggest trying just plain bread and butter pickles, but make the hats first to see if you like it, then stir it in if you do!

IMG_0429

Wickle Hat


IMG_0366

Incorporated into the mix


**Now the servings depend on what you want to do with this. We normally just make ours to put in a container and use over the course of a few days on crackers, dipped with raw veggies, etc. If you want to make grilled cheese sandwiches out of them (I would definitely recommend that-not even joking, so good) the servings will change a bit. Obv.

Pimento Cheese Recipe

Total Time: 20 minutes

Number of servings: 4

Per Serving 364 calories

Fat 34 g

Carbs 1 g

Protein 14 g

4


Ingredients

  • 1 8 oz block of Sharp Cheddar Cheese
  • 1/3 cup Mayonnaise
  • I use full-fat for this but you can use light

  • 1/4 tsp Paprika
  • 1 4oz jar diced pimientos
  • 1/4 cup Wickles Pickles
  • Salt and Pepper to taste

Instructions

  1. I use my handy box grater and shred the block of cheese over a plate. I’m weird and like it when the cheese comes all the way to the top of the inside of the grater and then falls everywhere when I take it off. Mature, I know. My kids like it because the cheese that falls off the plate is fair game.
  2. Next I put the cheese in a mixing bowl. I don’t shred over the bowl because my knuckles always hit the sides and it is annoying. Once the cheese is in the bowl I add the pimientos. I usually drain half the liquid from the jar before adding. Mix that up and then add in the mayonnaise. At this point it is about stirring and sprinkling. I then add the paprika (not sure if this was in the original recipe, I think it is an addition but it works.), salt and pepper and mix everything until combined.
  3. You can serve immediately but I recommend refrigerating for at least an hour so the pimento flavor is there. I store mine in an airtight container for up to a week and just use (remember the Wheat Thins?) as needed.

Enjoy.

xo