2016 Goals

Since it is February I’ve think it is about time to post about resolutions.

I have decided have goals this year instead of resolutions. I really enjoyed making a list of things to work on last year so I decided to go ahead and do it again this year. I feel like the word “resolution” tends to make me feel a little pressure and I really don’t want to set myself up to be disappointed if something doesn’t go exactly as planned. The word “goal” feels a little more forgiving and reaching goals might be a little easier to achieve rather than sticking to resolutions.

Anyhoo here goes the list for this year (I think it will resemble last year’s quite a bit.)
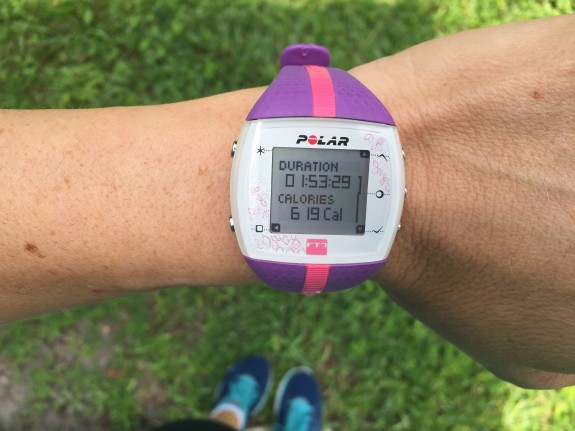
Fitness

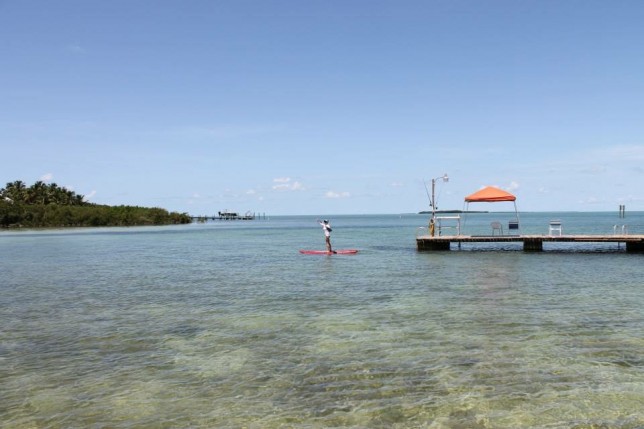
This one should be pretty easy. I have really found an exercise schedule that works for me and has made a huge difference in my strength and endurance. I think it is important for me to make my health a priority so I don’t think I will have any issues with this one. I do want to try to incorporate different elements. I want to play golf and more paddle-boarding. I enjoy both of these things very much and look forward to getting them into the rotation.
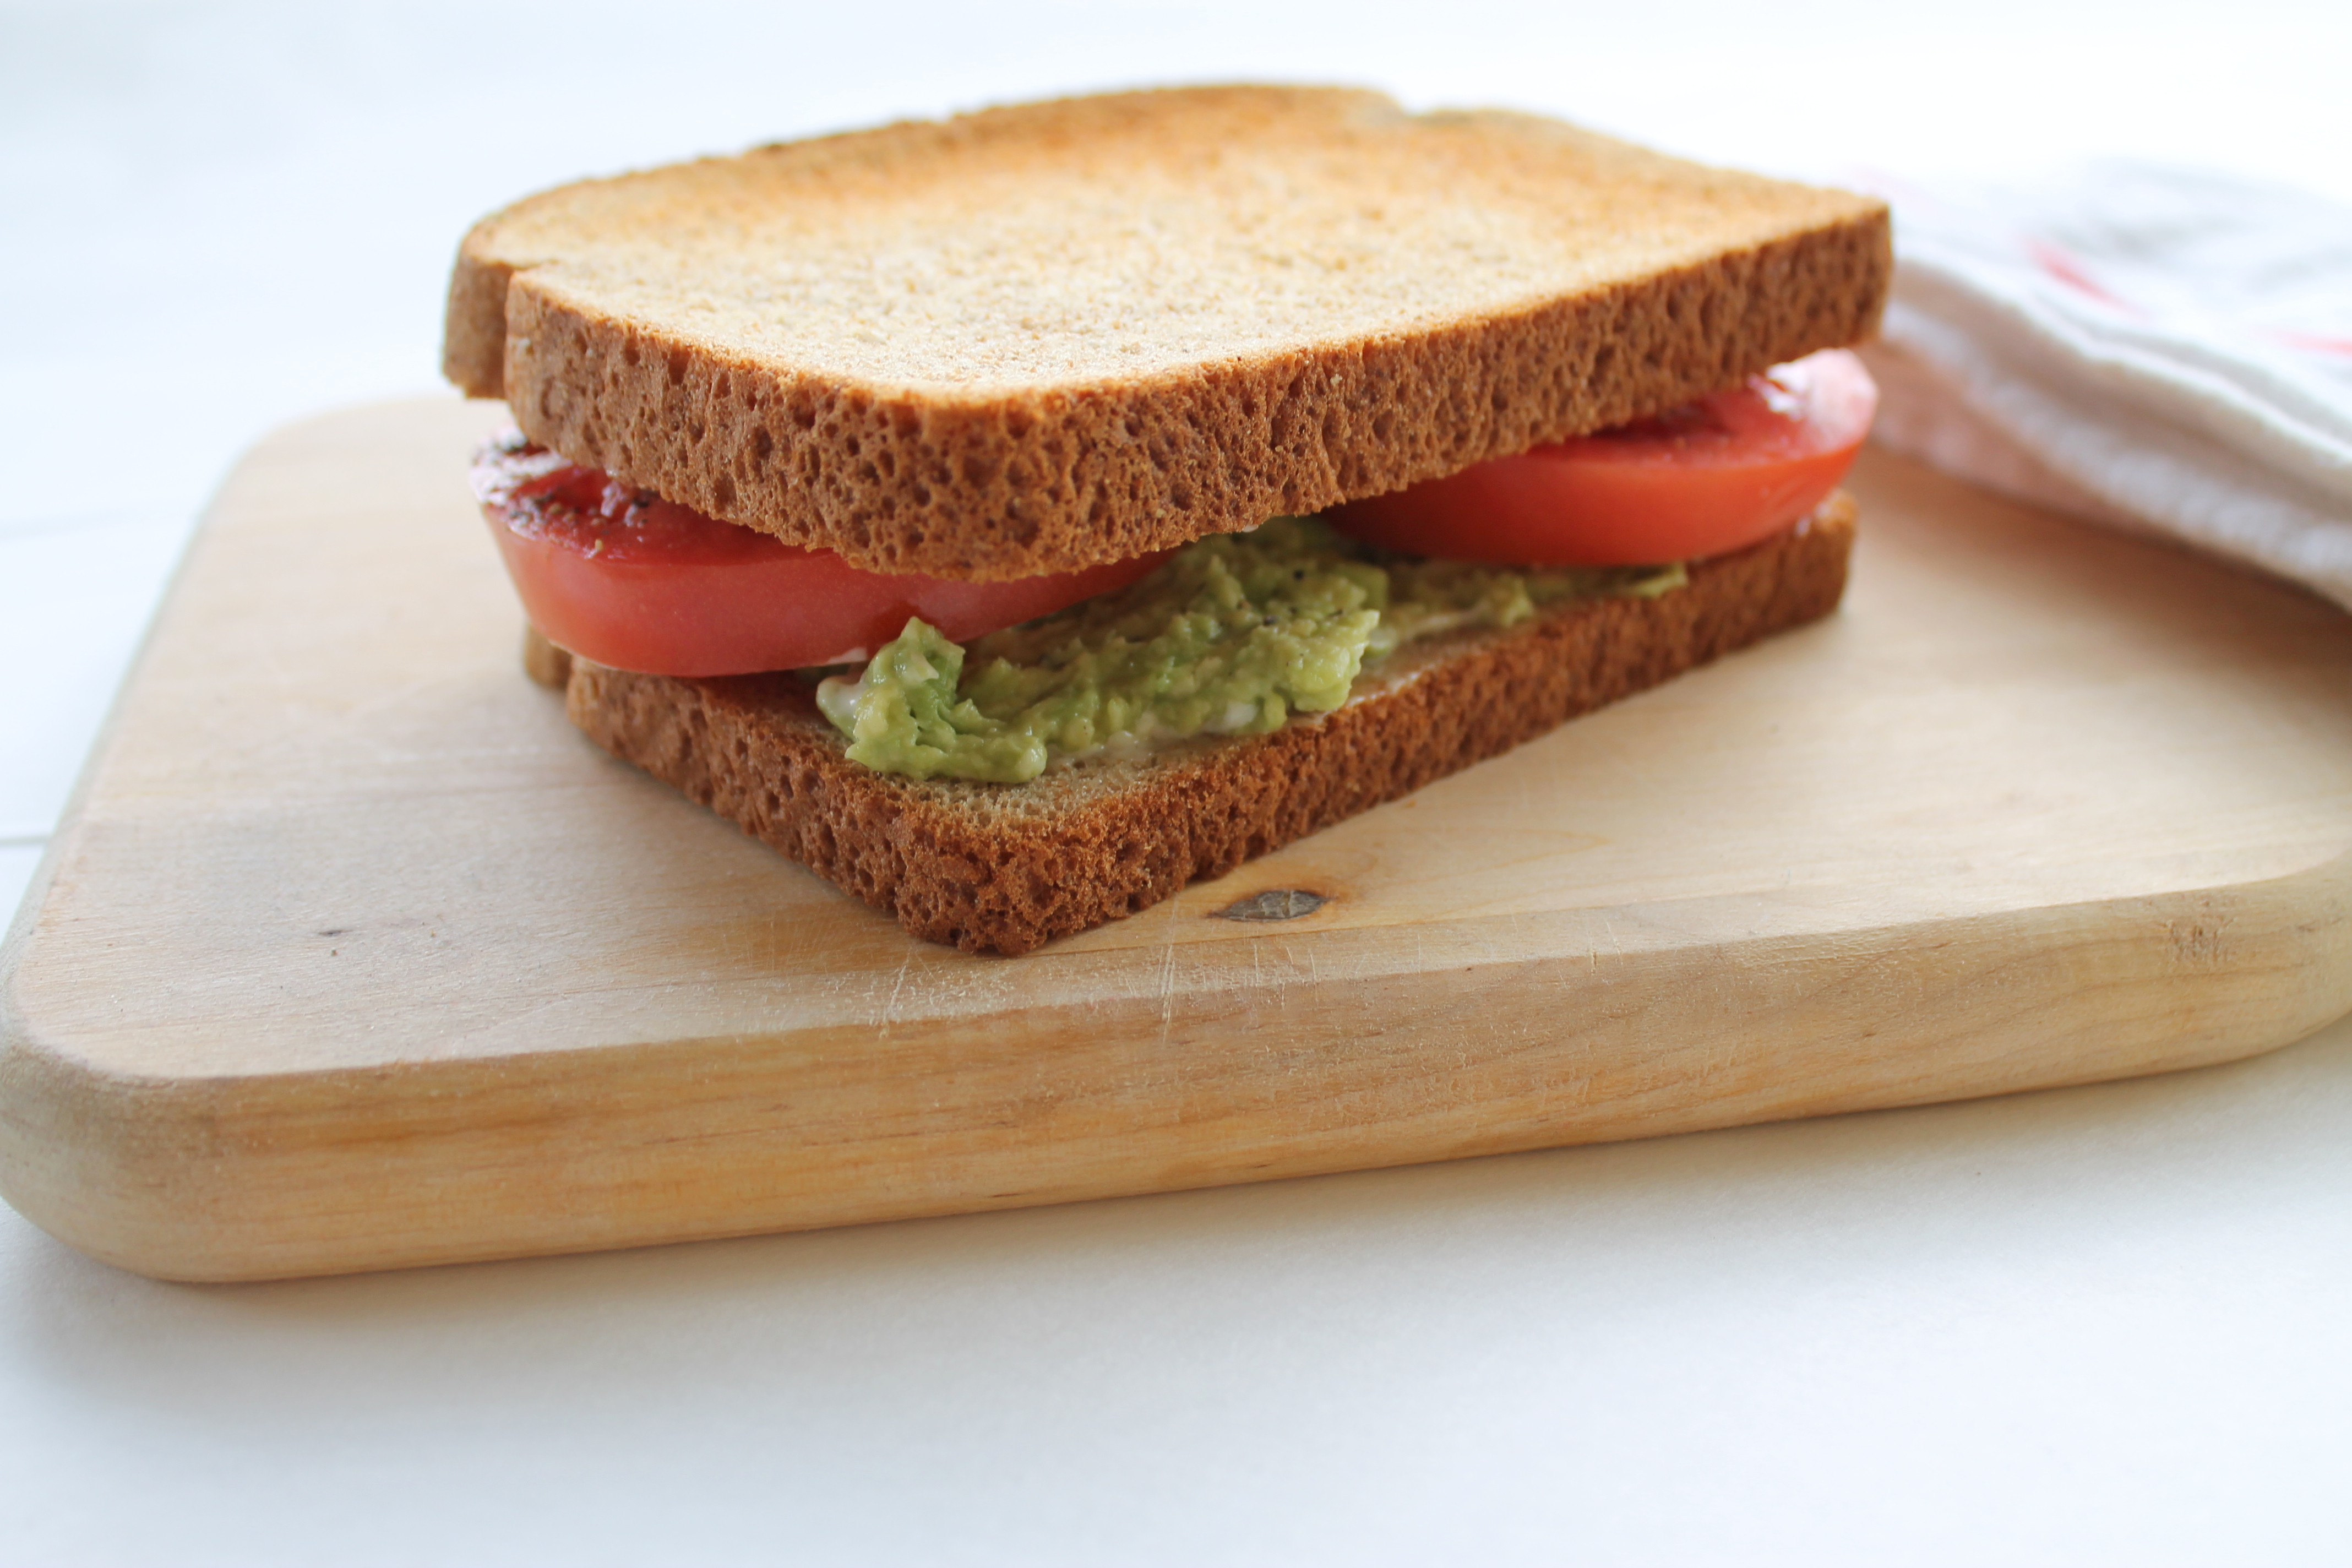
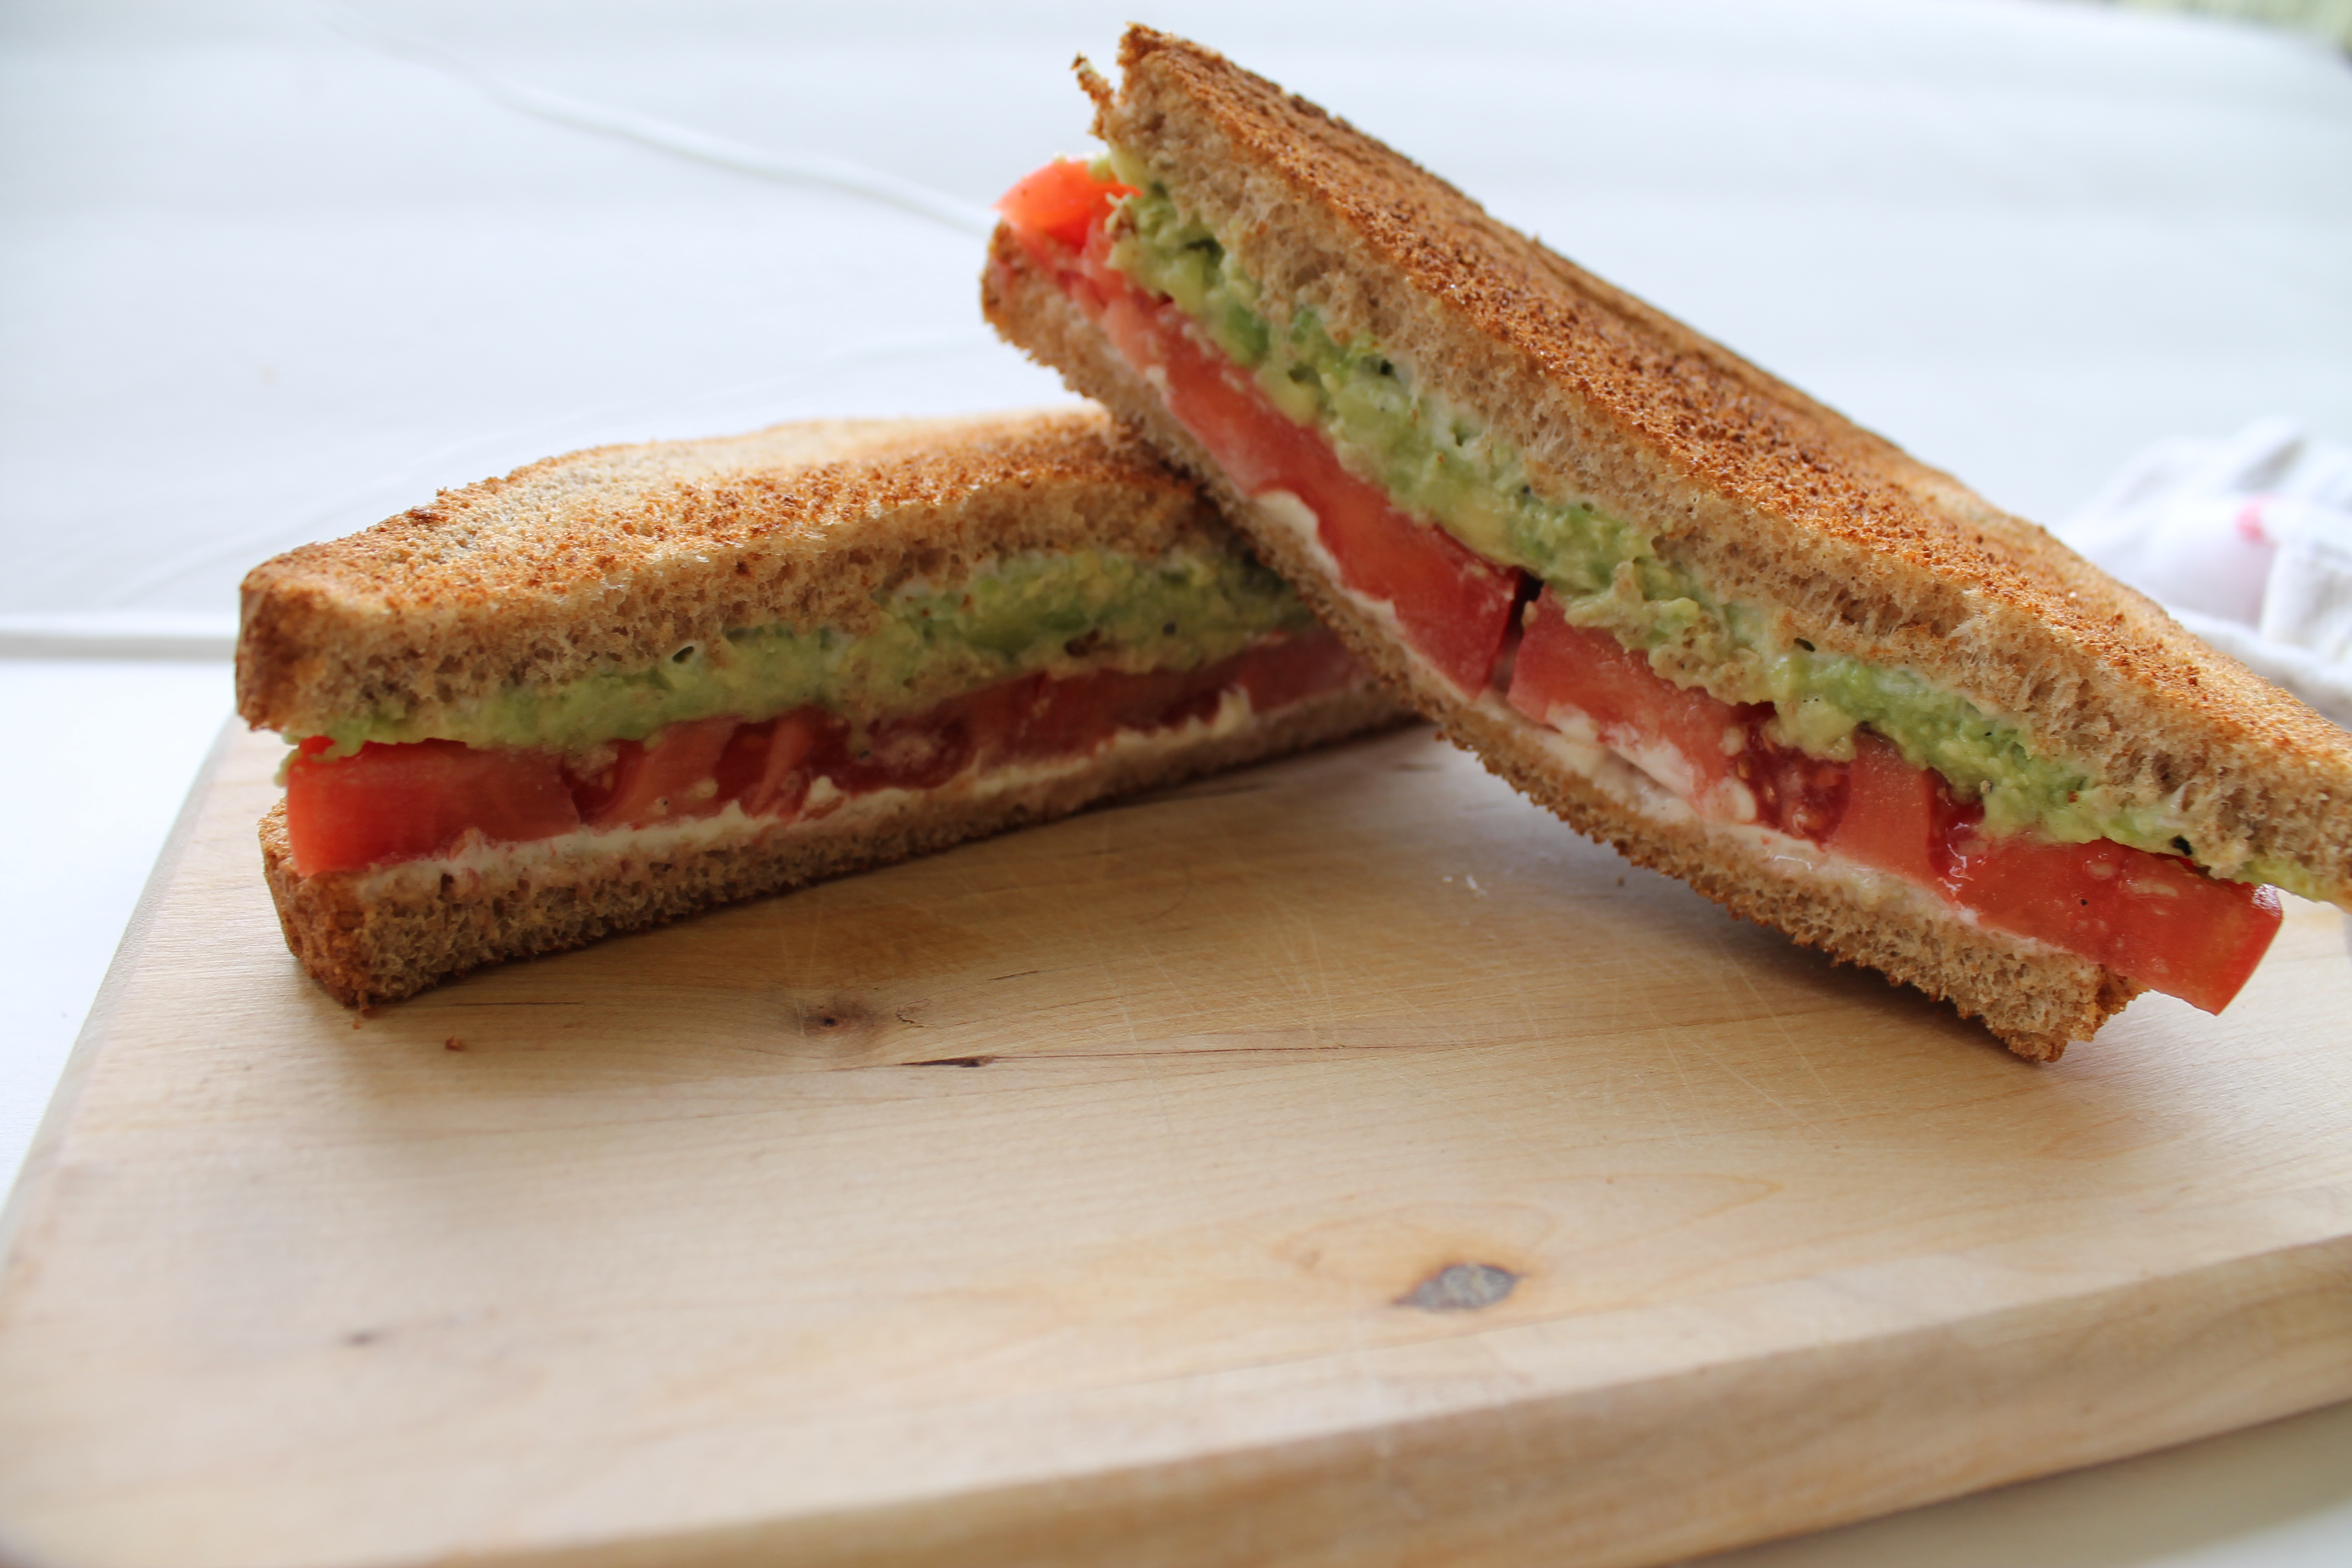
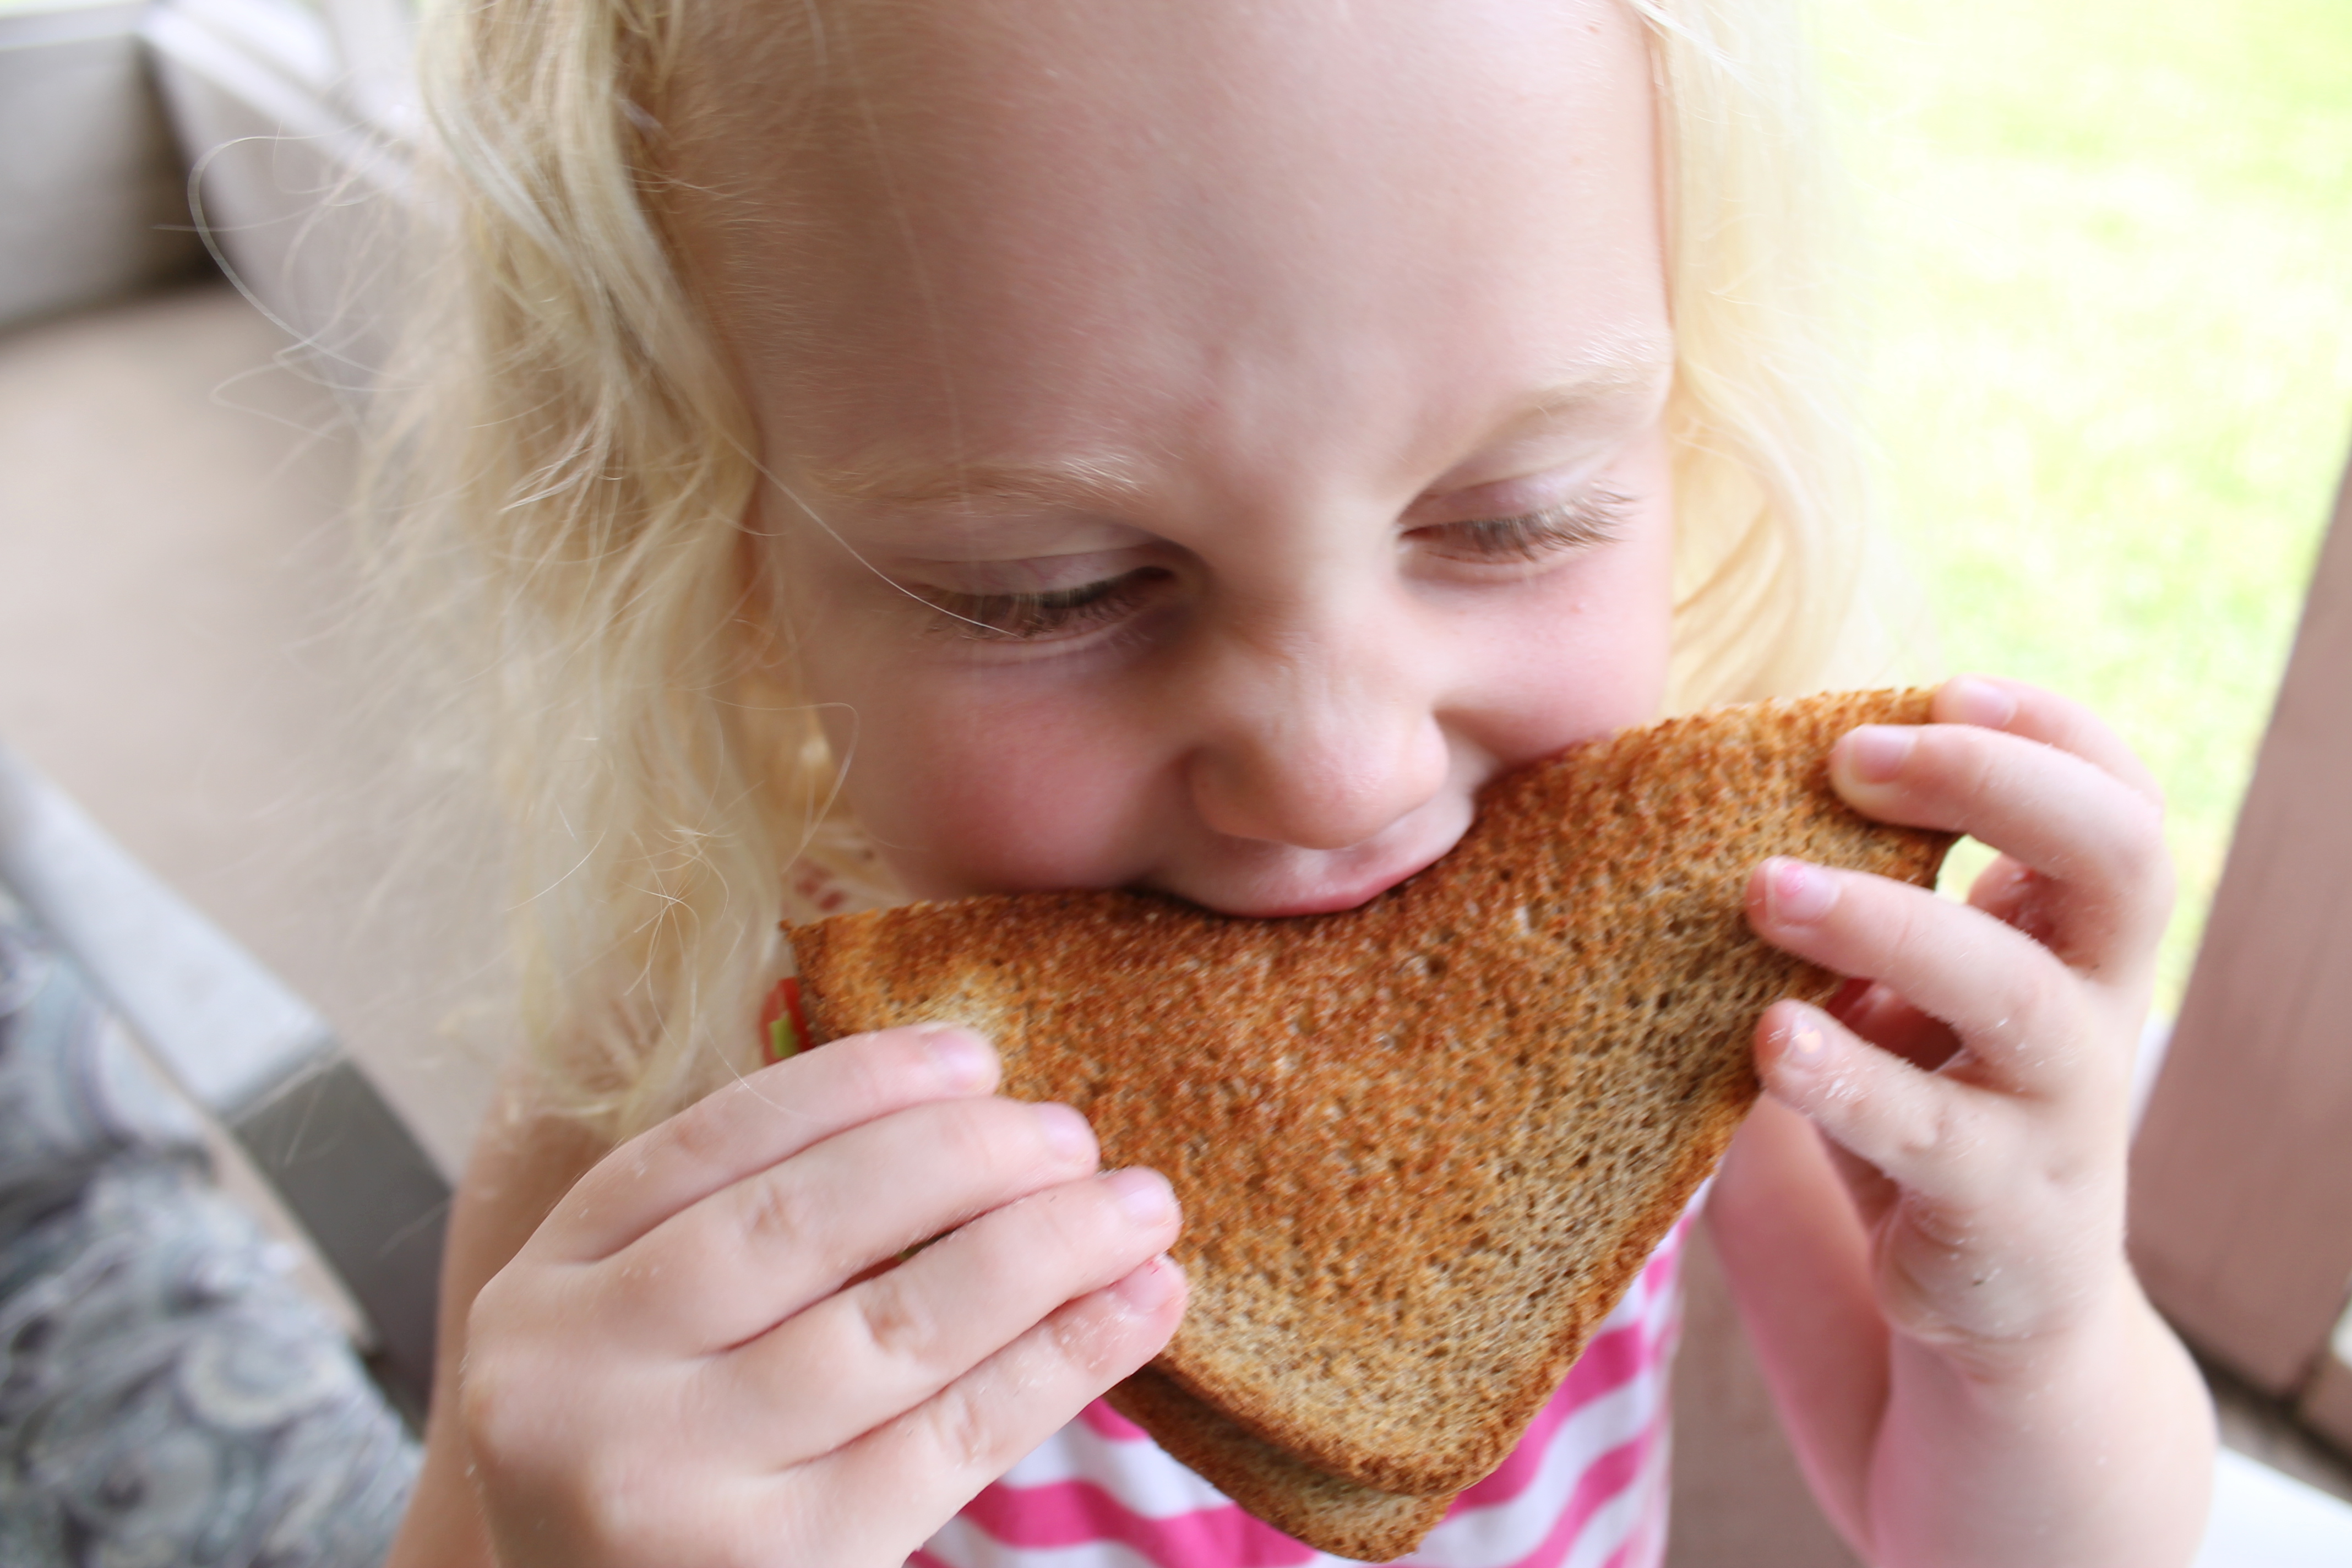
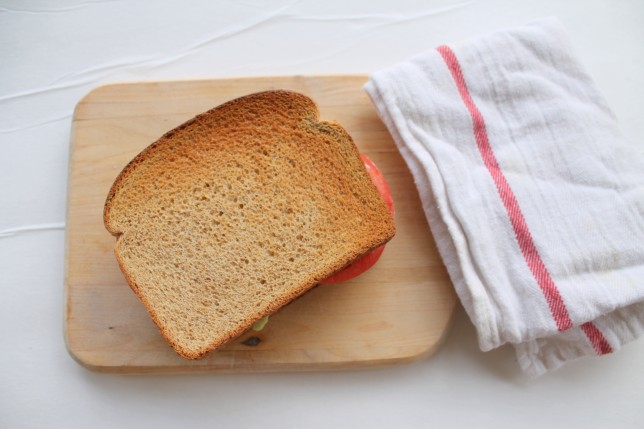
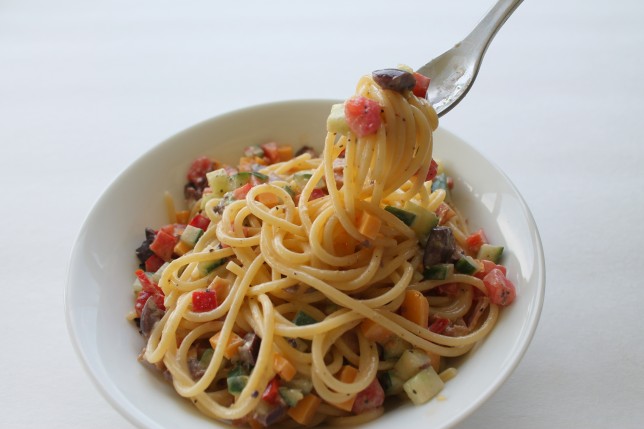
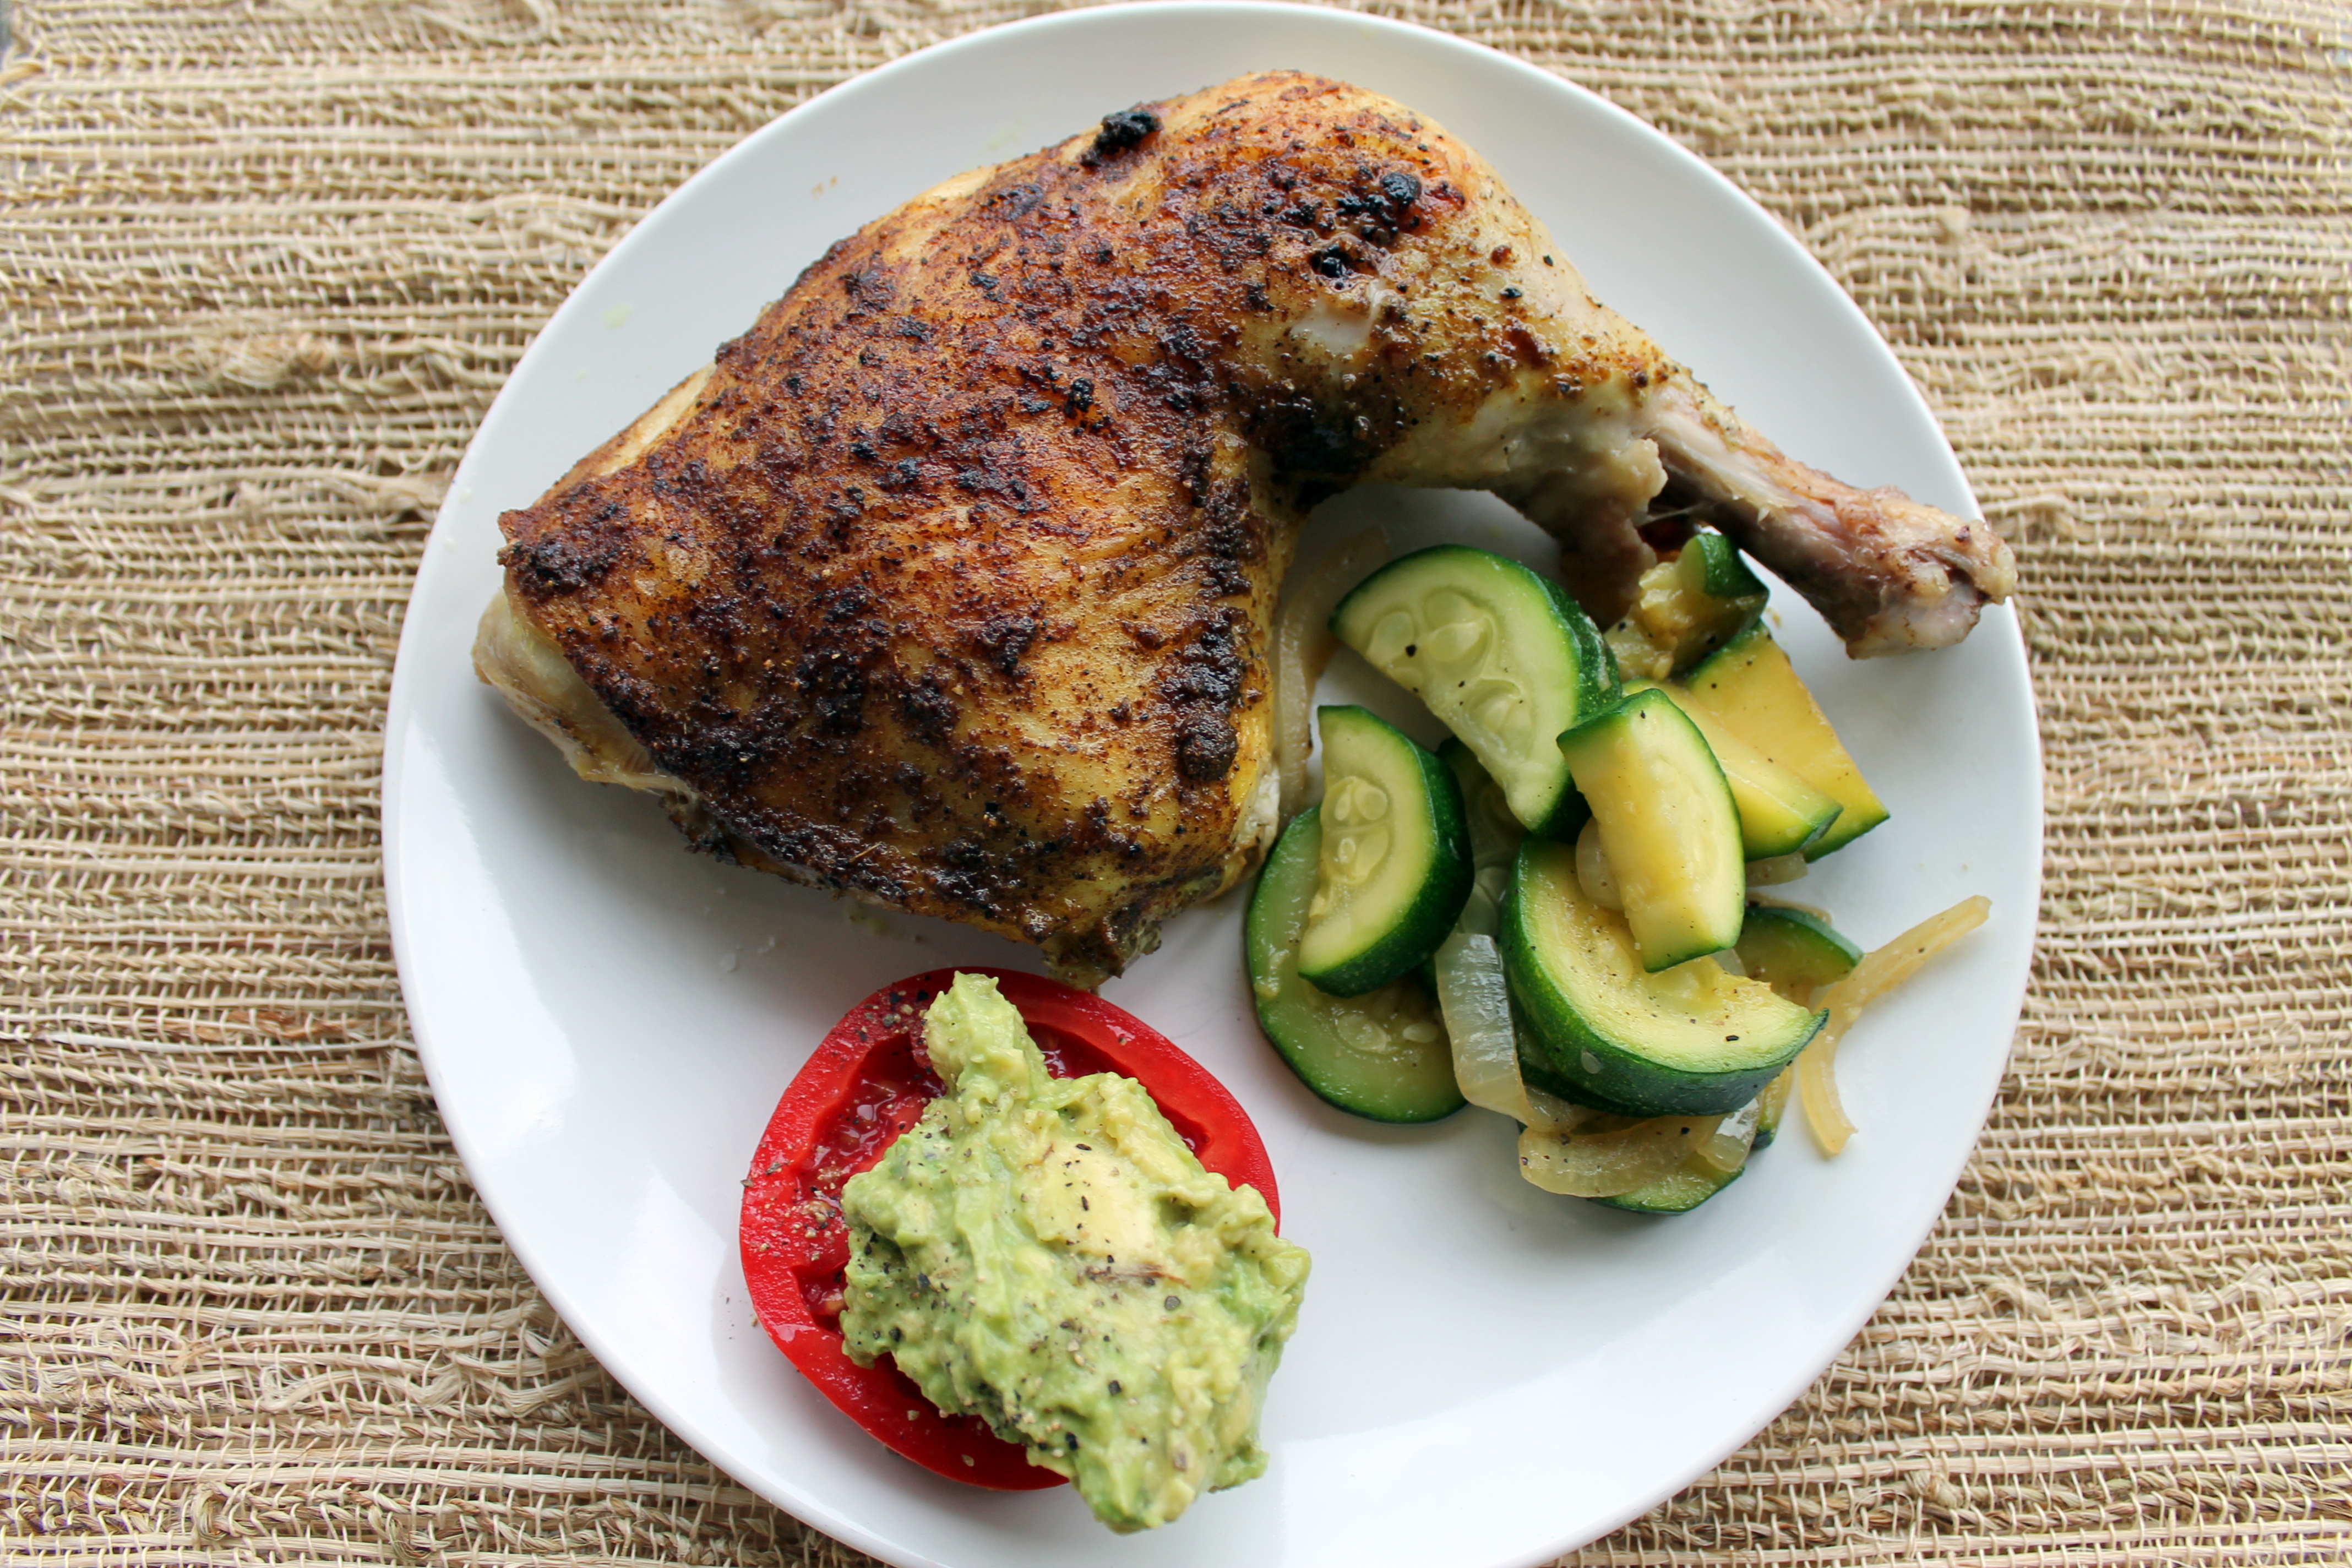
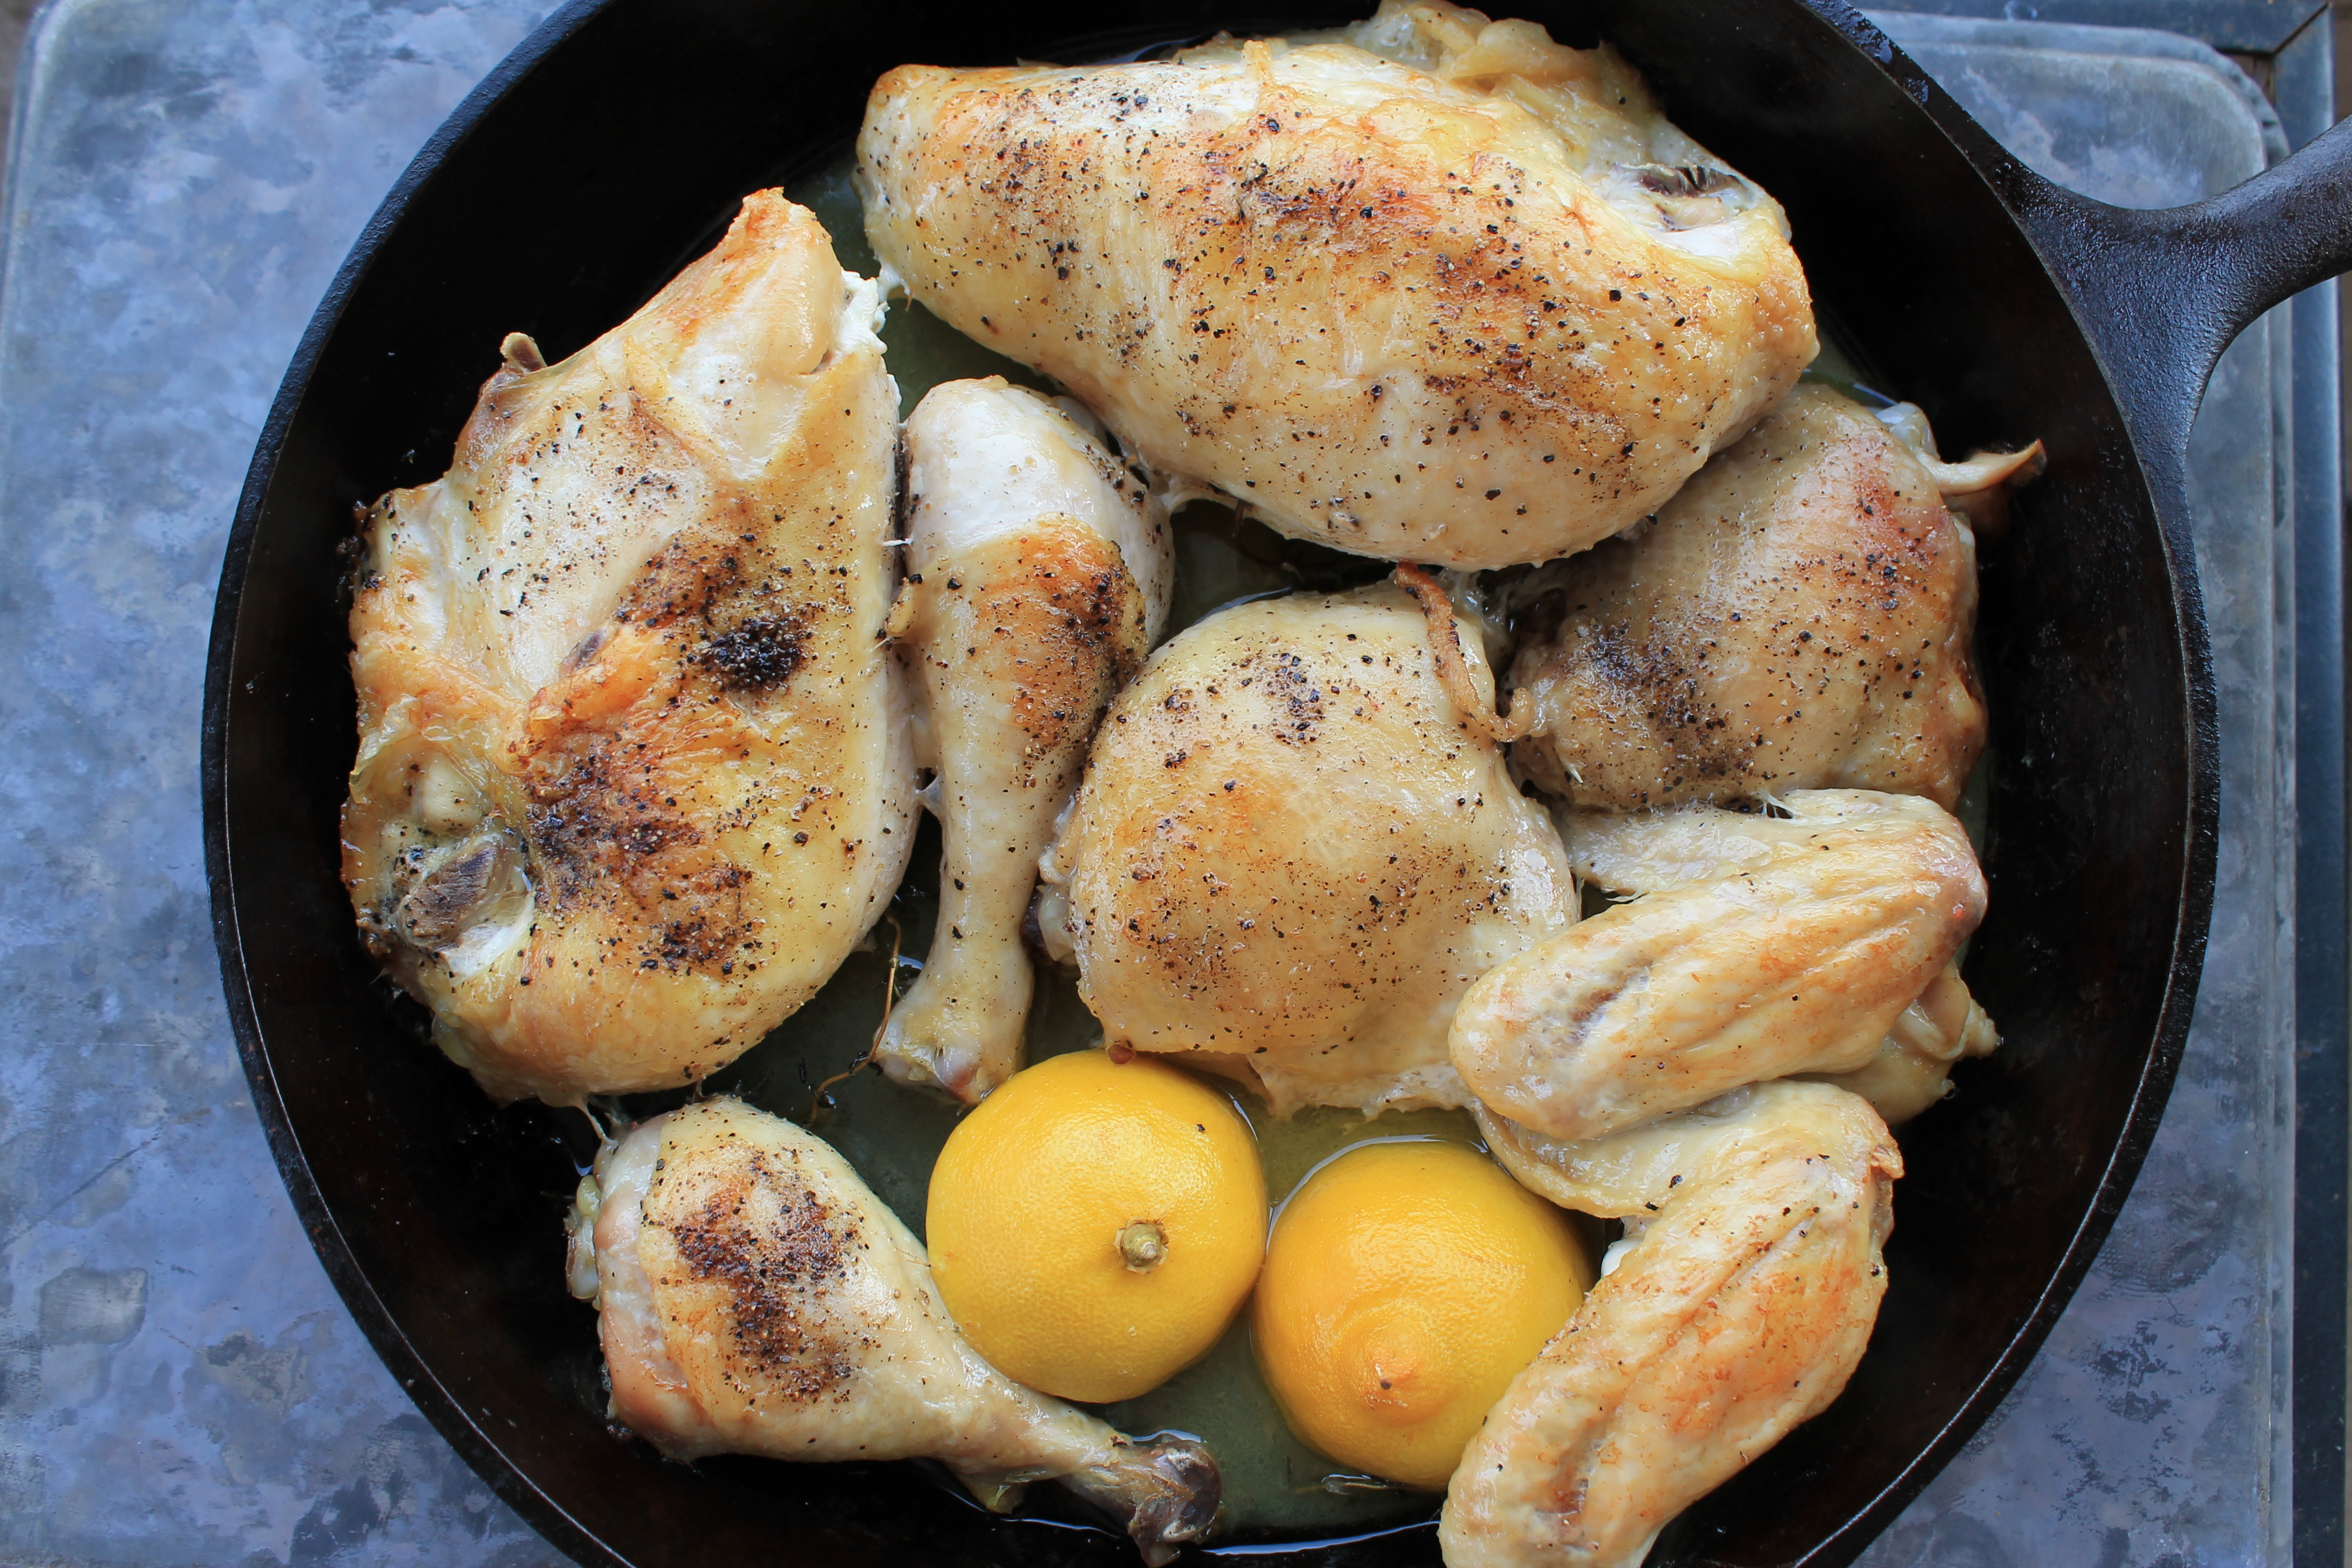
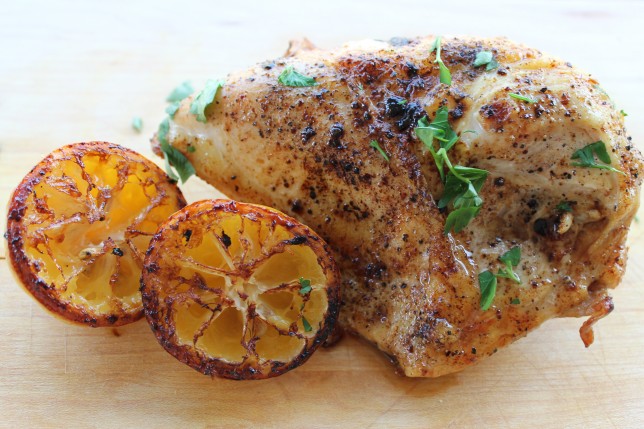
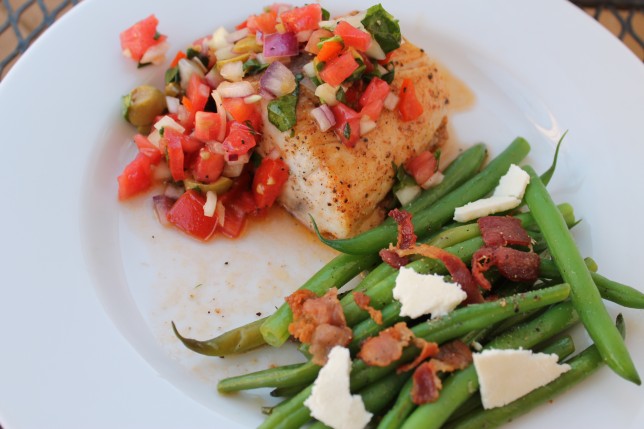
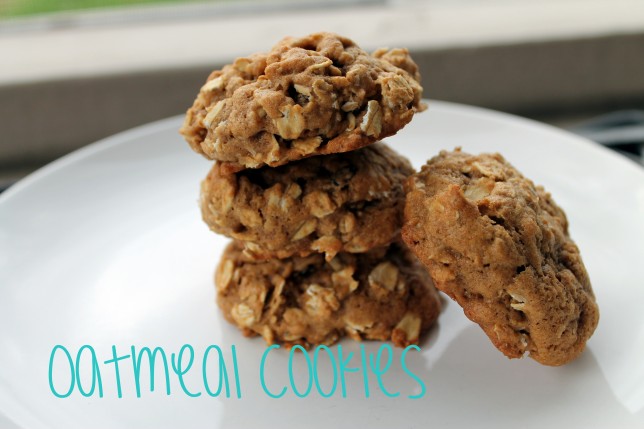
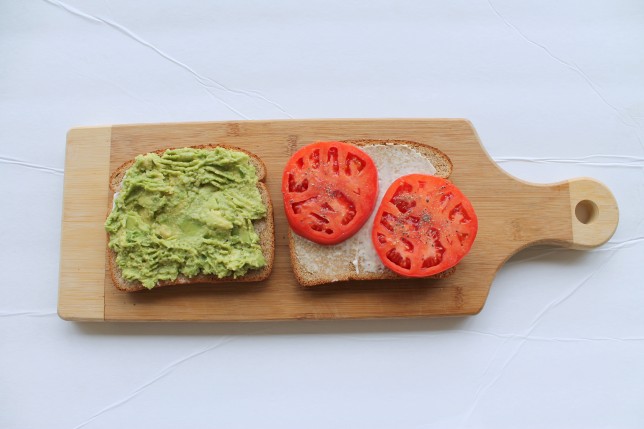
IMG_6958

IMG_9252

Food

I really want to branch out with my recipes this year. I want to try new things and get a little out of my comfort zone. I am also on a mission to get my kids to try new foods as well. We have got to get away from the chicken nugget/mac and cheese cycle. I will also let them help me more in the kitchen. When they are part of the process they are much more likely to try new foods.

IMG_3921

IMG_2399

IMG_2004

Family

Schoolwork and family time are going to be really big this year. Little Man is to the point where homework is really important and making time to do this every day is crucial. I want to make this time fun and enjoyable, not tedious. In order to do this I am going to create a new homework station for the kids. I hope this will make homework and study time fun. 

Photography

I need to work on this. Most of the time I walk off and forget my big camera and only use my phone. The pictures are good but I really want to play with my camera more to really use it to get some good shots.
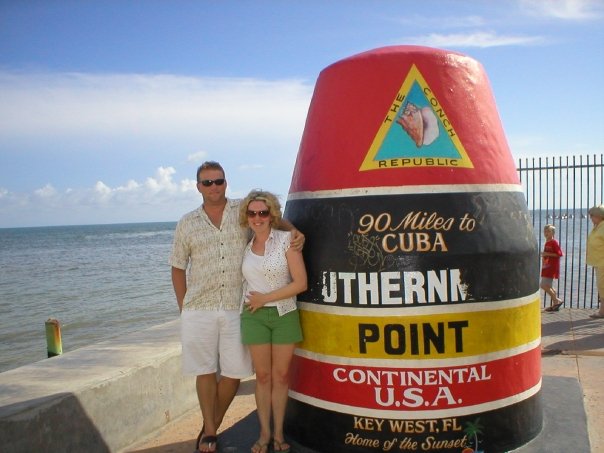
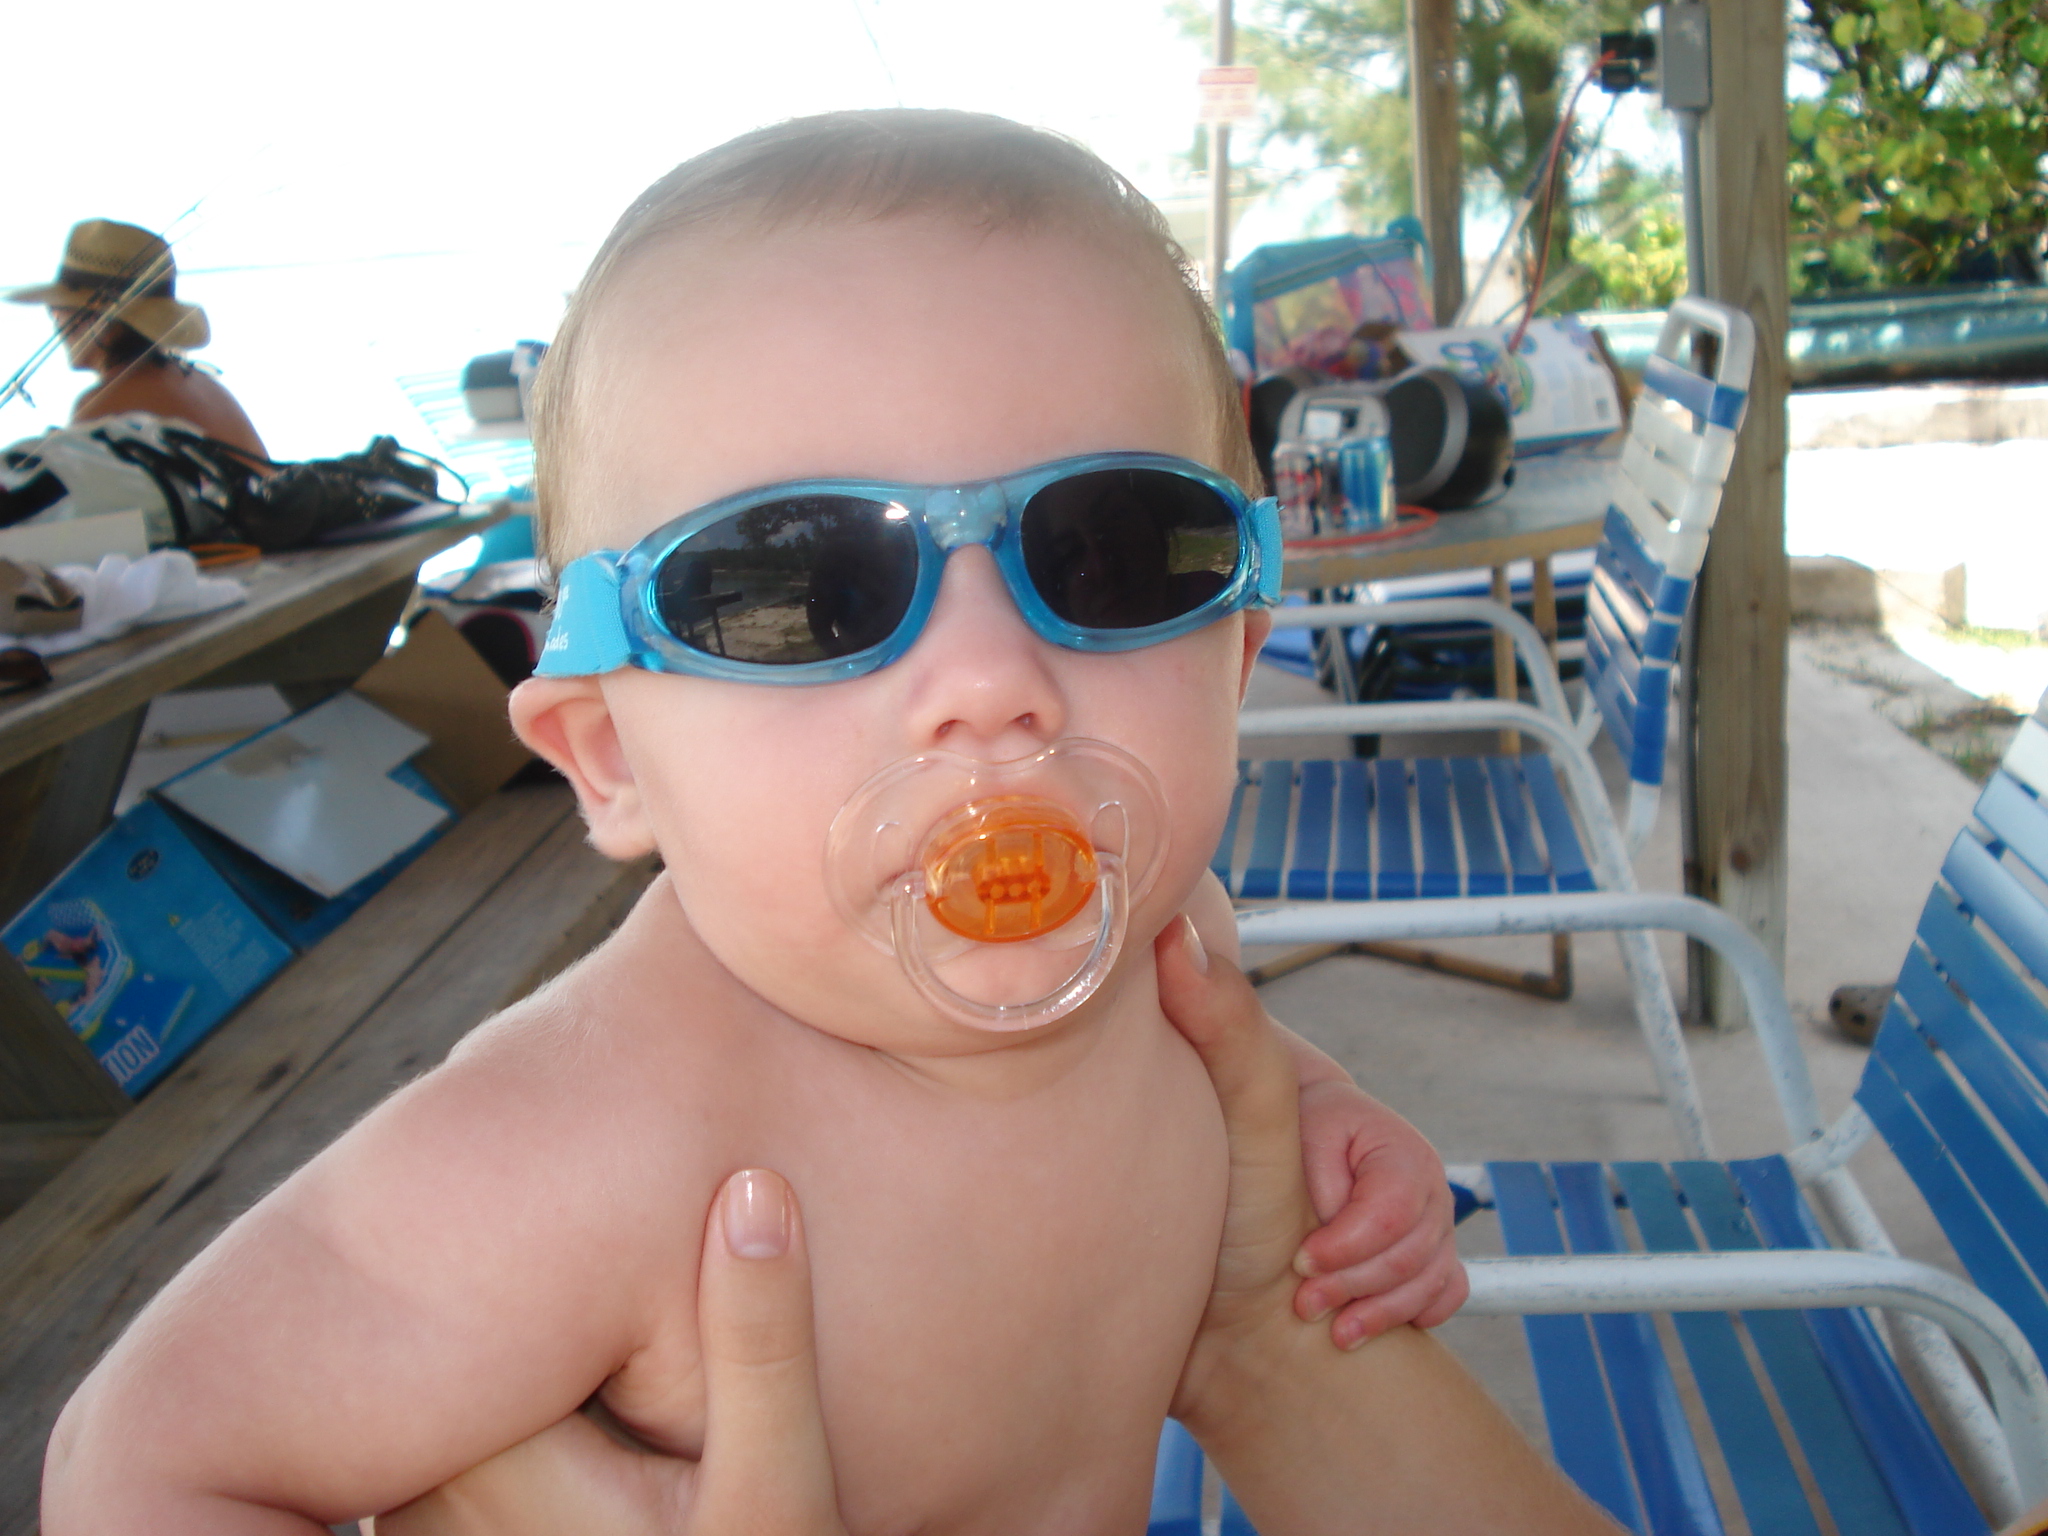
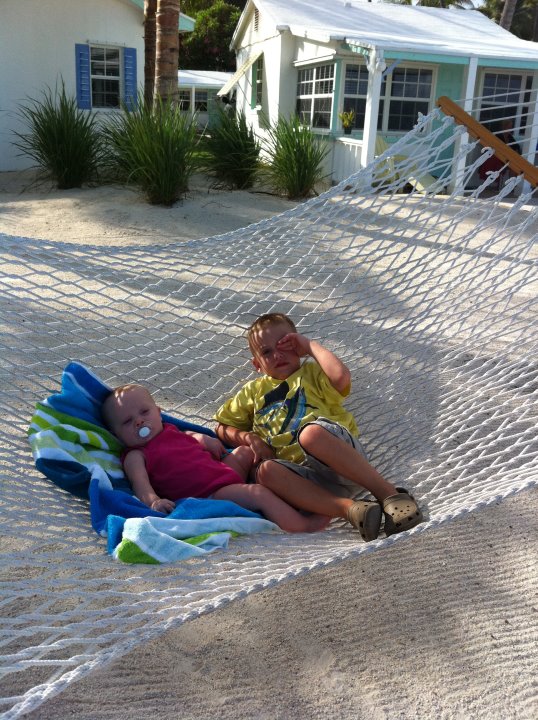
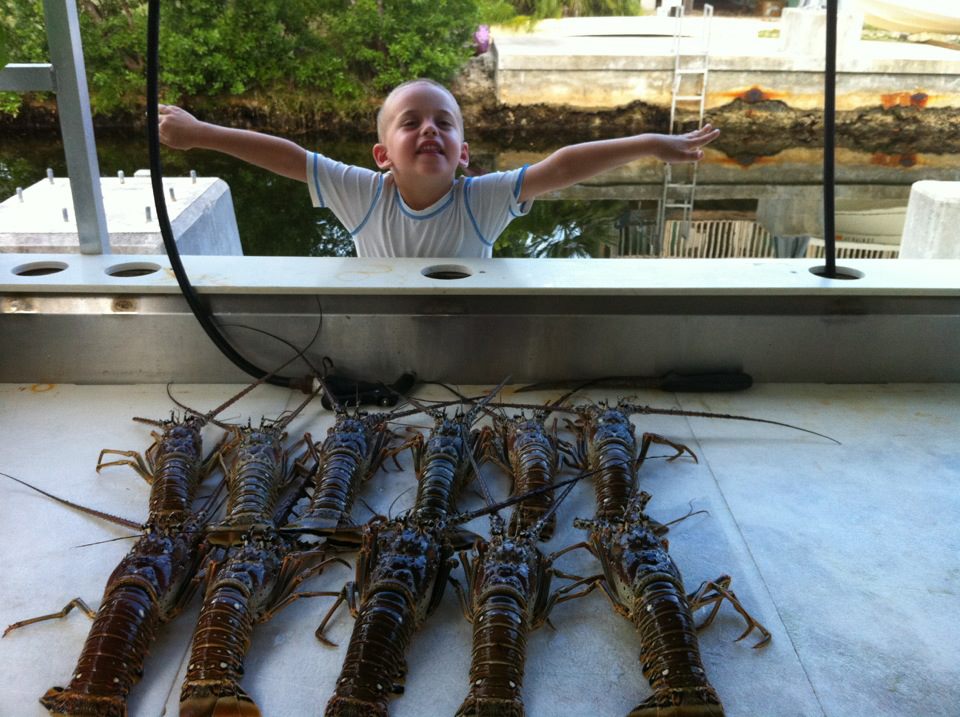
Travel

This was one area we really excelled in last year. We have several trips already in the works for this year and we are super excited. Spending time as a family in fun places is definitely something to look forward to.

IMG_6350

IMG_6259Personal

“Keep Improving” will be my motto this year. I want to be a better mom, wife, friend, daughter, sister, boss, co-worker, you name it. If I can keep improving.

These goals are pretty basic and I tend to have monthly goals as well so hopefully I can keep up with them!

Here’s to your goals this year as well! May we all have a great 2016!!

xo

Tomato Sandwich Recipe

I am feeling a little nostalgic this week. Monday my Grandmother would have celebrated her 94th birthday. It is hard to believe she has been gone for almost seven years. I have been missing her lately. 

When my sister and I were lucky enough to go stay with my grandparents during the summer we would have so much fun. Normally, we would only make the trip from Florida to Tennessee for Thanksgiving, so being able to go during the summer was a treat. We would pick blackberries, help Granddaddy with his garden and help Grandmother with canning and preserving.

I don’t know what they do to the soil in Tennessee but I tell you it is magical. I remember seeing a hot house cucumber at the grocery store in my twenties and I thought, my Granddaddy grew these in his garden when I was a kid, way before they were cool and they were delicious! And can we talk about the tomatoes? I mean talk.about.the.tomatoes. I have never tasted a tomato that is as good as one from Tennessee. #Truth.

I learned to love tomatoes those summers spent at my grandparents’ house. That love is still with me. The tomatoes here in Florida don’t really hold a candle to the ones we had those summers with Grandmother and Granddaddy, but around this time of year they are just about as good as they are going to get and I will eat my weight in tomato sandwiches and swim in memories of our summers in Tennessee.

That was my long-winded way of saying that these sandwiches are memory machines. For these, I was feeling wild and added some avocado but I will always have a special place in my heart (and stomach) for the original: a juicy tomato on toasted bread, with salt, pepper and mayo. That was it. Simple and so delicious.

So if you are in Tennessee, enjoy your magic soil and amazing tomatoes. Feel free to send me some if you think of it. I will just be here making these wishing I was eight again.

Happy Birthday Grandmother.

IMG_3921

 IMG_3919

IMG_3928

IMG_3931

Princess approved!


Tomato Sandwiches
Serves 2
Summer tomatoes are the best.
Write a review
Print
Ingredients
  1. 2 large tomatoes, sliced
  2. 4 slices whole wheat bread, toasted
  3. 2 tablespoons mayonnaise
  4. 1 avocado, mashed
  5. Salt and pepper to taste
Instructions
  1. Toast the bread slices
  2. Split the mayonnaise between the slices (1 tablespoon per sandwich)
  3. Spread each slice with the mashed avocado
  4. Top with the sliced tomatoes, salt and pepper
Steph in Symmetry https://stephinsymmetry.com/
 xo

Summer Pasta Salad Recipe

Can we talk salad bars for a moment? I’m normally not a huge fan of buffet-type restaurants. I love to eat but these types of restaurants normally make money on me because I can never go back for more than my initial plate. This is probably because I am intrigued by most everything on a salad bar and will normally try a little of everything. Thus the one and done.

My husband and I used to live in Atlanta for a short time right after we were married. I loved Atlanta. I always say, if Atlanta had a beach I would still live there. There are so many things to do and so many delicious places to eat. I became a forever-fan of Thai food while there and have yet to find anything quite as good here in Orlando. Even  if we were just running to grab a bite for lunch it was almost always delicious.

There was a Jason’s Deli right across the street from where I worked while we were there. On a lunch break one day I was introduced to the chain. I know what you are thinking, Jason’s Deli? Really? Yes, stay with me. My girlfriend and co-worker at the time was with me and suggested I try the salad bar. Boy am I glad she was there. Best.decision.ever. This salad bar had everything you could imagine. The hard-boiled eggs weren’t chopped, they were whole (awesome)! But my favorite by far, the reason I would return to this location at least 10 times after this (we only lived in Atlanta for 9 months), was the pasta salad. It was flavorful and went perfectly with the rest of the salad fixins, but the most memorable part is that it was made with spaghetti noodles. Now, I don’t know about you, but normally if I were to make pasta salad, I would use small pasta shapes- shells, farfalle or wagon wheels if I could find them, but I never thought to use spaghetti. Well, my friends, it is still to this day my favorite pasta to use for pasta salad.

We have a few Jason’s Deli’s around here now and I’ve gone in hoping for salad bar excellence but have been disappointed each time. Don’t me wrong, the salad bar is still good, but no spaghetti pasta salad to be found (whole hard-boiled eggs were there though!). Since I can’t re-live my Atlanta Jason’s Deli experiences, I’ve decided that making it at home is definitely the best way to go.

I make all kinds of pasta salads these days but this version is one of my favorites. So in time for your 4th of July barbecue or cookout, here is a recipe I like and hope you will too!

IMG_3527

Summer Pasta Salad
Serves 4
Great for any cookout. This pasta salad uses spaghetti noodles!
Write a review
Print
Ingredients
  1. 1/2 pound spaghetti pasta (I used Gluten Free Barilla because I really like the texture)
  2. 1/2 cucumber, diced
  3. 1/4 red bell pepper, diced
  4. 1 small tomato, diced
  5. 2 slices cooked bacon
  6. 2 oz cheese (I used Colby but you can use any hard cheese you like)
  7. 1/3 cup black olives, chopped
Dressing
  1. 1/3 cup mayonnaise
  2. 1/2 avocado
  3. 1/3 cup extra virgin olive oil
  4. 1/4 cup red wine vinegar
  5. 1 tsp oregano
  6. Salt and pepper to taste
Instructions
  1. While you are chopping the veggies, cheese and bacon, cook the pasta per the box instructions. Once you drain, rinse with cold water to stop the cooking process.
  2. In a food processor or blender mix all the ingredients for the dressing.
  3. Mix the pasta and the veggies, then pour the dressing over to coat.
Notes
  1. I used Gluten Free pasta for this because I really like the way the texture holds up the next day. It dries out a little bit, but that is how I like my pasta salad. Feel free to use regular semolina pasta, it will be great!!
Steph in Symmetry https://stephinsymmetry.com/


Roast Chicken

I can pretty much say this is the go-to meal at our house. It is perfect for during the week or even for entertaining. I think my family knows that if they come over for dinner on a Saturday night there is a 50/50 chance this will be on the menu (the other option is normally pasta of some sort). They are probably sick of it, but they haven’t complained yet.

Chef Jonathan Waxman really knows what he is doing. My husband and I watched him make this on TV once and thought, that looks so delicious, and really not too difficult. Proving again that if you have really good quality ingredients, making food delicious is pretty easy. The key is committing to basting EVERY 8 minutes. I’m not sure why it is 8 and not 10, but who am I to question Obi Wan Kenobi? He knows things, I tell you.

IMG_2735

The skin is so delicious you will swear it was seared first. It gets so crispy and since the chicken is cut up into pieces, it cooks really quickly.

We have made tons of variations on this. Sometimes we change the citrus from lemon to orange or lime, add different herbs (rosemary, thyme, etc) once I used Tandoori spice and it was awesome.

You can change this up so many ways and it will come out delicious every time. I promise. If  it doesn’t, come over to my house any given Saturday night and I will apologize personally by serving you roast chicken.

IMG_2004

This is the tandoori spiced version.

IMG_1299

Make sure you use a cast iron skillet. They work the best!


Roast Chicken
Write a review
Print
Ingredients
  1. 1 whole chicken, cut in pieces
  2. 2 tablespoons olive oil
  3. 1 lemon, cut in half
  4. Salt and black pepper
Instructions
  1. Preheat oven to 425 degrees.
  2. Rinse the chicken and pat dry.
  3. Pour 1 tablespoon of the oil into a large cast iron skillet.
  4. Rub the other tablespoon of oil onto all the chicken pieces.
  5. Sprinkle both sides of all pieces with a generous amount of salt and pepper.
  6. Cut lemon in half and place cut side down in the pan.
  7. Place chicken in oven and baste every 8 minutes until chicken is fully cooked (165 degrees). This normally takes about 35-40 minutes.
  8. Let sit for 10-15 minutes before serving.
Notes
  1. There are so many variations on this. Make it your own! You can use any seasonings you like and any high-temperature oil. We actually used duck fat once and it was amazing.
Adapted from Jonathan Waxman's Roast Chicken
Steph in Symmetry https://stephinsymmetry.com/


Blame it on the Beach

Living in Florida, we are able to get to the beach a lot. I know when my sister and I were little our parents would take us quite a bit. We would sometimes rent a house and stay for a week. Ahh, those were the days.

I remember snacks always being super-important when we headed to the beach. Must be the salt and sea air that would make us extra hungry. My sister and I were big snackers when we were young. We loved chips and crackers (Funyuns-yelp), candy- anything quick and easy. Snacks + beach = awesome.

For some reason one particular trip to the beach sticks in my memory. It was the summer before I was going to start high school. We were staying at a hotel-type place on Daytona Beach. It was busy and I remember having to wake up super-early to go put towels on chairs to hold our place once we were ready to head down. The days would consist of this, wake up, eat breakfast, head down to the pool. Swim until it was lunchtime, head up to the room to eat, go back down and play at the  beach until the sun started to set. On this trip my mom made brownies to take with us. One day after swimming all morning, I was particularly hungry, (considering I probably ate a cinnamon roll or something equally as sugary and non-filling for breakfast). I was so famished I remember grabbing a brownie, shoveling it into my mouth and chasing it with a handful of salt and vinegar potato chips. Hope you are still with me. I did say salt and vinegar potato chips. I have no idea how this combination came about, but knowing my sweet/savory fondness it really doesn’t surprise me all that much. Can I tell you my mind was blown. The combination of fudgy chocolate with the super-salty-sour-crunchy chip was so good. You are probably thinking I wrote this on April 1 and forgot to publish, but I am completely serious. So good.

It is so funny how food can bring back such intense memories. I am hoping I ate something other than that for lunch (probably a sandwich of sorts) but I don’t remember. All I remember is that crazy-stoner-type-food-combination that was so delicious.

That brings me to what happened this week. I don’t know if I was feeling nostalgic or maybe just hungry (when will Paleo get easier?) but I needed the chocolate/salty-sour combo STAT. I should have saved one of my Dark Chocolate Brown Butter Brownies for emergencies but who am I kidding? Those puppies were gone in two days. I didn’t have the foresight or patience to make/keep brownies so I melted some dark chocolate in a bowl and dipped flipping salt and vinegar potato chips in it. Dead.

IMG_1534

I have seen lots of chocolate covered potato chips out there so the combination isn’t so crazy (I’ll just keep telling myself that), but I didn’t see many where salt and vinegar chips were the vessel. It is definitely the way to go. This combination is really good. You get the sweet-bitterness from the chocolate and the salty-vinegary crunch from the chip. I used kettle cooked but you could use any type (as long as they are salt and vinegar flavored).

Dark Chocolate Salt and Vinegar Chips

IMG_1544

Our beach snacks these days are more fruit/cracker less chip/brownie but let me tell you, if I came home from a day at the beach and had a bag of these babies, I would surely devour the whole thing.

Don’t be afraid. Try new weird things! You’ll realize maybe they aren’t that weird after all and they might even turn out to be delicious!

Do you have any crazy food combinations that ended up being tasty? Tell me!!

Hope everyone has a great weekend!

xo

Dark Chocolate Brown Butter Brownies

Some days call for butter, sugar and lots of dark chocolate.  It could be the weather,  it could be because you need something to fill the void left by the terrible How I Met Your Mother finale, or it could be for no reason at all.

I choose number three.

I’m late to this game but I am happy to jump on the brown butter bandwagon. It has such a great flavor. You can add it to savory and sweet dishes and it just makes them nuttier and better. These brownies are super-dark, super-dense and super-brown-buttery. I am certainly a fan and will not admit to how many I ate. My kids on the other hand, were not fans. “Mommy they smell delicious but do not taste delicious”. Oops. More for me.

While I do think they are delicious, I will warn you if you aren’t into dark chocolate (e.g., my children) you might not be crazy about them. I am a little obsessed with all things dark chocolate so these are my new favorites.

The brown butter is a bit of a labor of love. You have to babysit a little bit but once you do it a couple of times it is easier and you won’t be like me, paranoid that I was going to burn it at any second. I actually found this post super helpful. Once the butter is melted it foams and then when the foam starts to subside is when the browning is really happening. When you are done you are left with some brown bits in the bottom that give the great flavor.

IMG_1120

IMG_1124

IMG_1127

IMG_1129

I know this pic isn’t the best but those are the bits!!! They are the good stuff.

IMG_1133

This is the Himalayan Pink Salt. It has great flavor and it a bit more subtle than kosher salt.

I used larger chocolate chips. You may want to chop yours if you like smaller bits of chocolate.

I used larger chocolate chips. You may want to chop yours if you like smaller bits of chocolate.

I really didn’t want to wait for them to cool to cut but miraculously something distracted me so they were safe until I cut them (I won’t mention what happened to the mixing bowl/spoon). I got 12 brownies from my 9×13″ pan.

See how they are super-dark? That makes them super-good!! 

IMG_1144IMG_1173 

Brownie 1

Here is the recipe! I hope you make them for no reason at all!!

Dark Chocolate Brown Butter Brownies
Yields 12
Super dark, super dense with great brown butter flavor.
Write a review
Print
Ingredients
  1. 2 1/2 sticks unsalted butter cut into pats
  2. 1 1/2 cups white granulated sugar
  3. 1 cup brown sugar
  4. 2 tsp vanilla
  5. 4 eggs
  6. 1 cup unsweetened dark cocoa powder
  7. 1 cup bittersweet chocolate chips (I used 60% cacao)
  8. 1 cup all purpose flour
  9. 1 tsp Himalayan pink salt
For the Brown Butter
  1. Melt the butter in a saucepan over medium heat until foam is gone and brown bits appear.
For the Brownies
  1. Add butter, and both sugars to a stand mixer with a paddle attachment and mix until fluffy (about 5 minutes at Speed 3).
  2. Add vanilla and then the eggs one at a time (mixing between each addition until combined)
  3. In a separate bowl combine cocoa powder, flour and salt and stir with a wisk.
  4. Add half the dry ingredients to the wet until combined, then add the remaining half until everything is incorporated.
  5. Remove bowl from mixer and then stir in the chocolate chips.
  6. Pour into a 9x13" baking dish lined with parchment paper and greased (I used Pam).
  7. Bake at 350 degrees for 26-29 minutes.
  8. Let cool and then cut.
Adapted from Something Swanky's "Browned Butter Brownies"
Steph in Symmetry https://stephinsymmetry.com/
xo 

Missing The Keys

Some of my favorite family memories involve the Florida Keys. We have been taking trips there annually since I was young. Some of the most important life events have happened in the Keys. My sister and brother-in-law were engaged and later married there, my very best friend was also engaged there. Some of my favorite memories come from time spent in the Keys. The Keys stretch out from just South of Miami to the Southernmost Point in Key West. We tend to spend most of our time in the Upper Keys (Key Largo, Tavernier, Islamorada). We also love Key West and the Lower Keys when we have the opportunity to go further south. It is a whole different world once you cross the Overseas Highway and enter the Keys. Things are more laid back, the water is gorgeous, the fishing is awesome, and most of all the food is amazing. You would expect the seafood to be delicious as the waters surrounding the Keys are filled with sea life and most places do not disappoint.

One of our very favorite places to eat in Key Largo is The Fish House. You must go when you are there as it is one of those places where you will have a great “Keys Experience”. The fish is always fresh and local. You can order your fish of choice several different ways, but I always choose the“Matecumbe” preparation. It is a combination of tomatoes, onions capers, lemon and olive oil, poured on top of your fish of choice. It is magical. The menu says “often copied but never duplicated”. This is so true, but I still try  to capture the flavors myself at home when I can.

While at the coast over the weekend we picked up some fresh Cobia. Cobia is very mild and when it is available we always try to pick some up. Since we had the fish component, I wanted to see if I could try to replicate the flavors of the “Matecumbe” sauce.

The Fish House’s version has capers and basil. Both of which I forgot to get while I was at the store. But I did have some green olives and spinach so I substituted that and it was really delicious. It is true though, although this version was pretty good, it is definitely not as good as the original. I guess that means we will just have to make a trip back down there soon.

Here are some of my favorite pictures of us in the Keys.

stephjess_n

Us way before kids in Key West. What am I doing with my arm?

DSC03798

Little Man’s first trip to the Keys (approx 6 months)

harpaddie_n

This was the first trip for The Princess (approx 7 months)

harpern

Lobster!

 keys

Okay, enough of that here is the recipe.


Cobia "Matecumbe"
One of our favorite fish dishes from one of our favorite places.
Write a review
Print
Ingredients
  1. 5 tomatoes, diced
  2. 1/2 red onion, diced
  3. 2 shallots, diced
  4. 1/3 cup sliced green olives
  5. 1 cup fresh spinach, finely chopped
  6. 1/2 cup olive oil
  7. Juice of 1 lemon
  8. Salt and pepper to taste
  9. 1 to 2 cobia (or any mild fish) fillets
Instructions
  1. Combine tomato, onion, shallots, green olives, and spinach in a bowl.
  2. Add olive oil, lemon juice, salt and pepper, stir.
  3. Refrigerate for at least 1 hour.
  4. Place oven rack 6 inches from top element.
  5. Preheat broiler to 500 degrees.
  6. Sprinkle each filet with salt and pepper and creole seasoning (I used Tony Chachare's).
  7. Place under the broiler for approximately 4 minutes a side*. *This all depends on the size of the fillets, you will just need to keep an eye on them).
  8. To serve, top each filet with 1/2-1 cup of the topping.
Notes
  1. This topping can be used on just about anything. It is awesome on fish but just as good on chicken, steak, eggs (you get the idea). Enjoy!
Adapted from The Fish House "Fish Matecumbe Recipe"
Steph in Symmetry https://stephinsymmetry.com/


Kabocha Squash Recipe

I am a big fan of squash. Zucchini and I have been BFFs for a while now and we have started using Spaghetti Squash in place of pasta which is really tasty. So,when I found Kabocha Squash on sale at the new produce market I’ve been going to recently, I grabbed one. I have seen some really great pics on Instagram lately showcasing their yumminess, and I thought I would give it a try.

They are really sweet and delicious. I think I may have cooked mine a tad too long because they were kind of mushy, but I will just cut back on the time a little next time. While this isn’t much of a recipe, I thought I would share my adventure with you.

They are unassuming from the outside.

IMG_0650

But inside they are so pretty.

IMG_0654

 The hardest part for me about squash is cutting them! You need a really sharp knife, elbow grease, leverage and patience. I cut mine in half first, scooped out the seeds and then cut into crescents.

I put about a tablespoon of coconut oil on a sheet pan and stuck it in the oven while it was preheating for about 3 minutes so it was easier to distribute over the pieces.

Then I tossed the squash in the oil, added salt and pepper.

IMG_0657

I roasted them for 20 minutes at 425. As you can see they are a little mushy. 9 minutes on the first and then 5 on the second will work a little better.

IMG_0663

I think 9 minutes on one side and then flipping them for about 5 minutes on the other side would work better. But they were still delicious. The skin was soft and I ate it too!

Here is the recipe (if you can even call it that) more of a method I guess.

Enjoy.

Roasted Kabocha Squash
Serves 4
A super yummy side dish that is ridiculously easy.
Write a review
Print
Ingredients
  1. 1 Kabocha Squash
  2. 1 tablespoon coconut oil
  3. Salt and pepper
Instructions
  1. Cut squash in half with a very sharp knife and scoop out the seeds with a spoon
  2. Cut halves into crescent shapes
  3. Preheat oven to 425 degrees
  4. While oven is preheating put coconut oil on a sheet pan and stick in for about 3 minutes or just until the oil melts but isn't too hot to touch
  5. Toss squash pieces in the oil and add salt and pepper
  6. Roast 9 minutes on first side then turn over and cook an additional 5 minutes
Steph in Symmetry https://stephinsymmetry.com/
 xo

Oatmeal Cookie Recipe

We like cookies a lot in our little world. My kids tend to like sugar cookies. Sprinkles for the Princess, and plain for Little Man. I seem to veer towards cookies that have that salty/sweet thing going. My favorite chocolate chip cookies are saltier than sweet and always have semi-sweet or bittersweet chocolate rather than milk. I also like cookies with “stuff” in them. I made this cookie once and I seriously thought I would die. So good.

I came across my Grandmother’s Oatmeal Cookie recipe and  it has just the right amount of “stuff” in it.  Her recipe calls for oats, and chopped nuts (there is actually a note on the top of her recipe card that says “good with nuts & raisins”).  Where I would normally empty out the pantry/fridge to find things to put in cookies, when it comes to oatmeal cookies, I really only like oats. I know lots of people like raisins as well, but in our family we never really put them in. I really like the flavor of a buttery, sugary oatmeal cookie without the addition of nuts and/or raisins.

I actually found two recipes in her collection for Oatmeal Cookies. One called for butter and shortening and the other just shortening. I decided to use the one without butter as I like to think it is meant for my cousin Jessica who can’t have butter. Plus, I just like to think of Jessica because she is far away and I miss her and she is one of three people that read this. So this is for you. Tee hee.

Here is Grandmother’s recipe card.

IMG_0563


Here is what I changed:

I used 3/4 cup of Coconut Oil instead of shortening, I also used 3/4 cup of maple syrup in place of the white sugar. Lastly, I substituted whole wheat flour for all purpose. Her recipe also called for Quick Oats and I used Old Fashioned.

I creamed the coconut oil and eggs then added the syrup as a liquid ingredient before the dry mix.

IMG_0570

IMG_0572

Then I added the oats and mixed by hand.

IMG_0576

IMG_0581

I used a parchment-lined baking sheet and my handy ice cream scooper to portion. It yielded just shy of 3 dozen (33 to be exact)

IMG_0584

The verdict:

I really like the cookies. I think the substitutions work well for what I was trying to accomplish. A healthier version of the real thing. They aren’t as buttery as I REALLY like, but I am happy with the healthified version and maybe next time I will add something like applesauce for added moisture.

Here is my recipe. Hope you enjoy.


Oatmeal Cookies
Yields 33
A healthy variation on the basic oatmeal cookie
Write a review
Print
Ingredients
  1. 3/4 cup coconut oil
  2. 3/4 cup maple syrup
  3. 1 cup dark brown sugar
  4. 1 tsp vanilla
  5. 1 tsp baking soda
  6. 11/2 cups whole wheat flour
  7. 1 tsp salt
  8. 2 eggs
  9. 3 1/2 cups old fashioned oats
Instructions
  1. Pre-heat oven to 350 degrees.
  2. In a stand-up mixer with paddle attachment, cream the coconut oil and brown sugar. Once combined, add eggs one at a time. Then add maple syrup and vanilla.
  3. In a separate bowl mix the flour, salt and baking soda. Add to the wet mixture in batches.
  4. Stir in oats by hand.
  5. Using a ice cream scoop, drop dough on parchment-lined baking sheet.
  6. Bake for 10-12 minutes.
Notes
  1. I recommend flattening the cookies with a fork just before baking.The recipe makes just shy of 3 dozen cookies.
Adapted from from Doris "Grandmother" Hand
Steph in Symmetry https://stephinsymmetry.com/
 xo